UPDATE 1
I wanted to show off what one of my projects was. I want to build a virtual pinball machine for as little as possiable. I started off this project trying to bulild one from scratch but my best atempts are too sad to even post. I will also give cost of each part as I can keep a running total of how much I spend and as much detail of each step as I can along with demsions and such incase someone else wants to replicate anything I do.I started off as I said trying to build my own from scratch from MDF, but unless you get it scrach and dent like I did it's too exspensive and heavy. Even with all the spare parts I had around the house from other builds and ect, I still spent a good deal of money and didn't even come close to a finished project. There were too many issue mounting hardware and other things that became an issue. I decided to try and find a cab on the net, but the cheapest was between $300-400 unfinished with our any hardware. That ment no legs, glass, rails, lockdown bar, etc. That that was adding more and more to a simple build. I evently started trying to find an old used cabinate, but even that was too exspensive from some people. I started looking online at craigs list and found someone in my area who worked on an repaired old arcade and pinball machines. The guy happend to have and old cab that was not in too bad of a shape. Not only that but he thew in the leggs, glass and lockdown bar all for $100.00 Not bad deal. I picked up the cab and started the process. 


As you can see not in too bad shape. I started working on the legs and backglass today 9/6/2015. 


As you can see above the legs were in rough shape. It took four brillo pads and one hour of scrubbing to clean them enough to prep for painting. Even after scurbbing the legs looked great, but they still had deep scratches and badly rusted areas. I decided to go ahead and pain them with the Krylon Chrome colored metalic paint. Cost of Paint $3.00. Even after painting I had enough left to do some of the vents for in the body, and backglass so I am saving it for accents. I also have a pool table that is black and chrome so this will match when I am done. 


Next is the area for the backglass. I already have a older 27inch screen that fits perfectly and should mount once I figure out how. In most cabs, I have seen the back opens so you can access the bulbs and such. In my case this is old BAD CATS CAB. It appears that the back glass comes out and you access it from the front. This will make mounting the screen a challenge. I started by removing any staples and old wires that were in the back and removed what I tought was paint form the cab as well with a razor blade.  This was very time consuming.   I then sanded and preped for painting, but as I sanded I noticed cracks in the wood and splits. Since I am painting it, I wanted as smooth as a surface to paint as possiable. Here is the Before and after, but before the paint.  


UPDATE 2
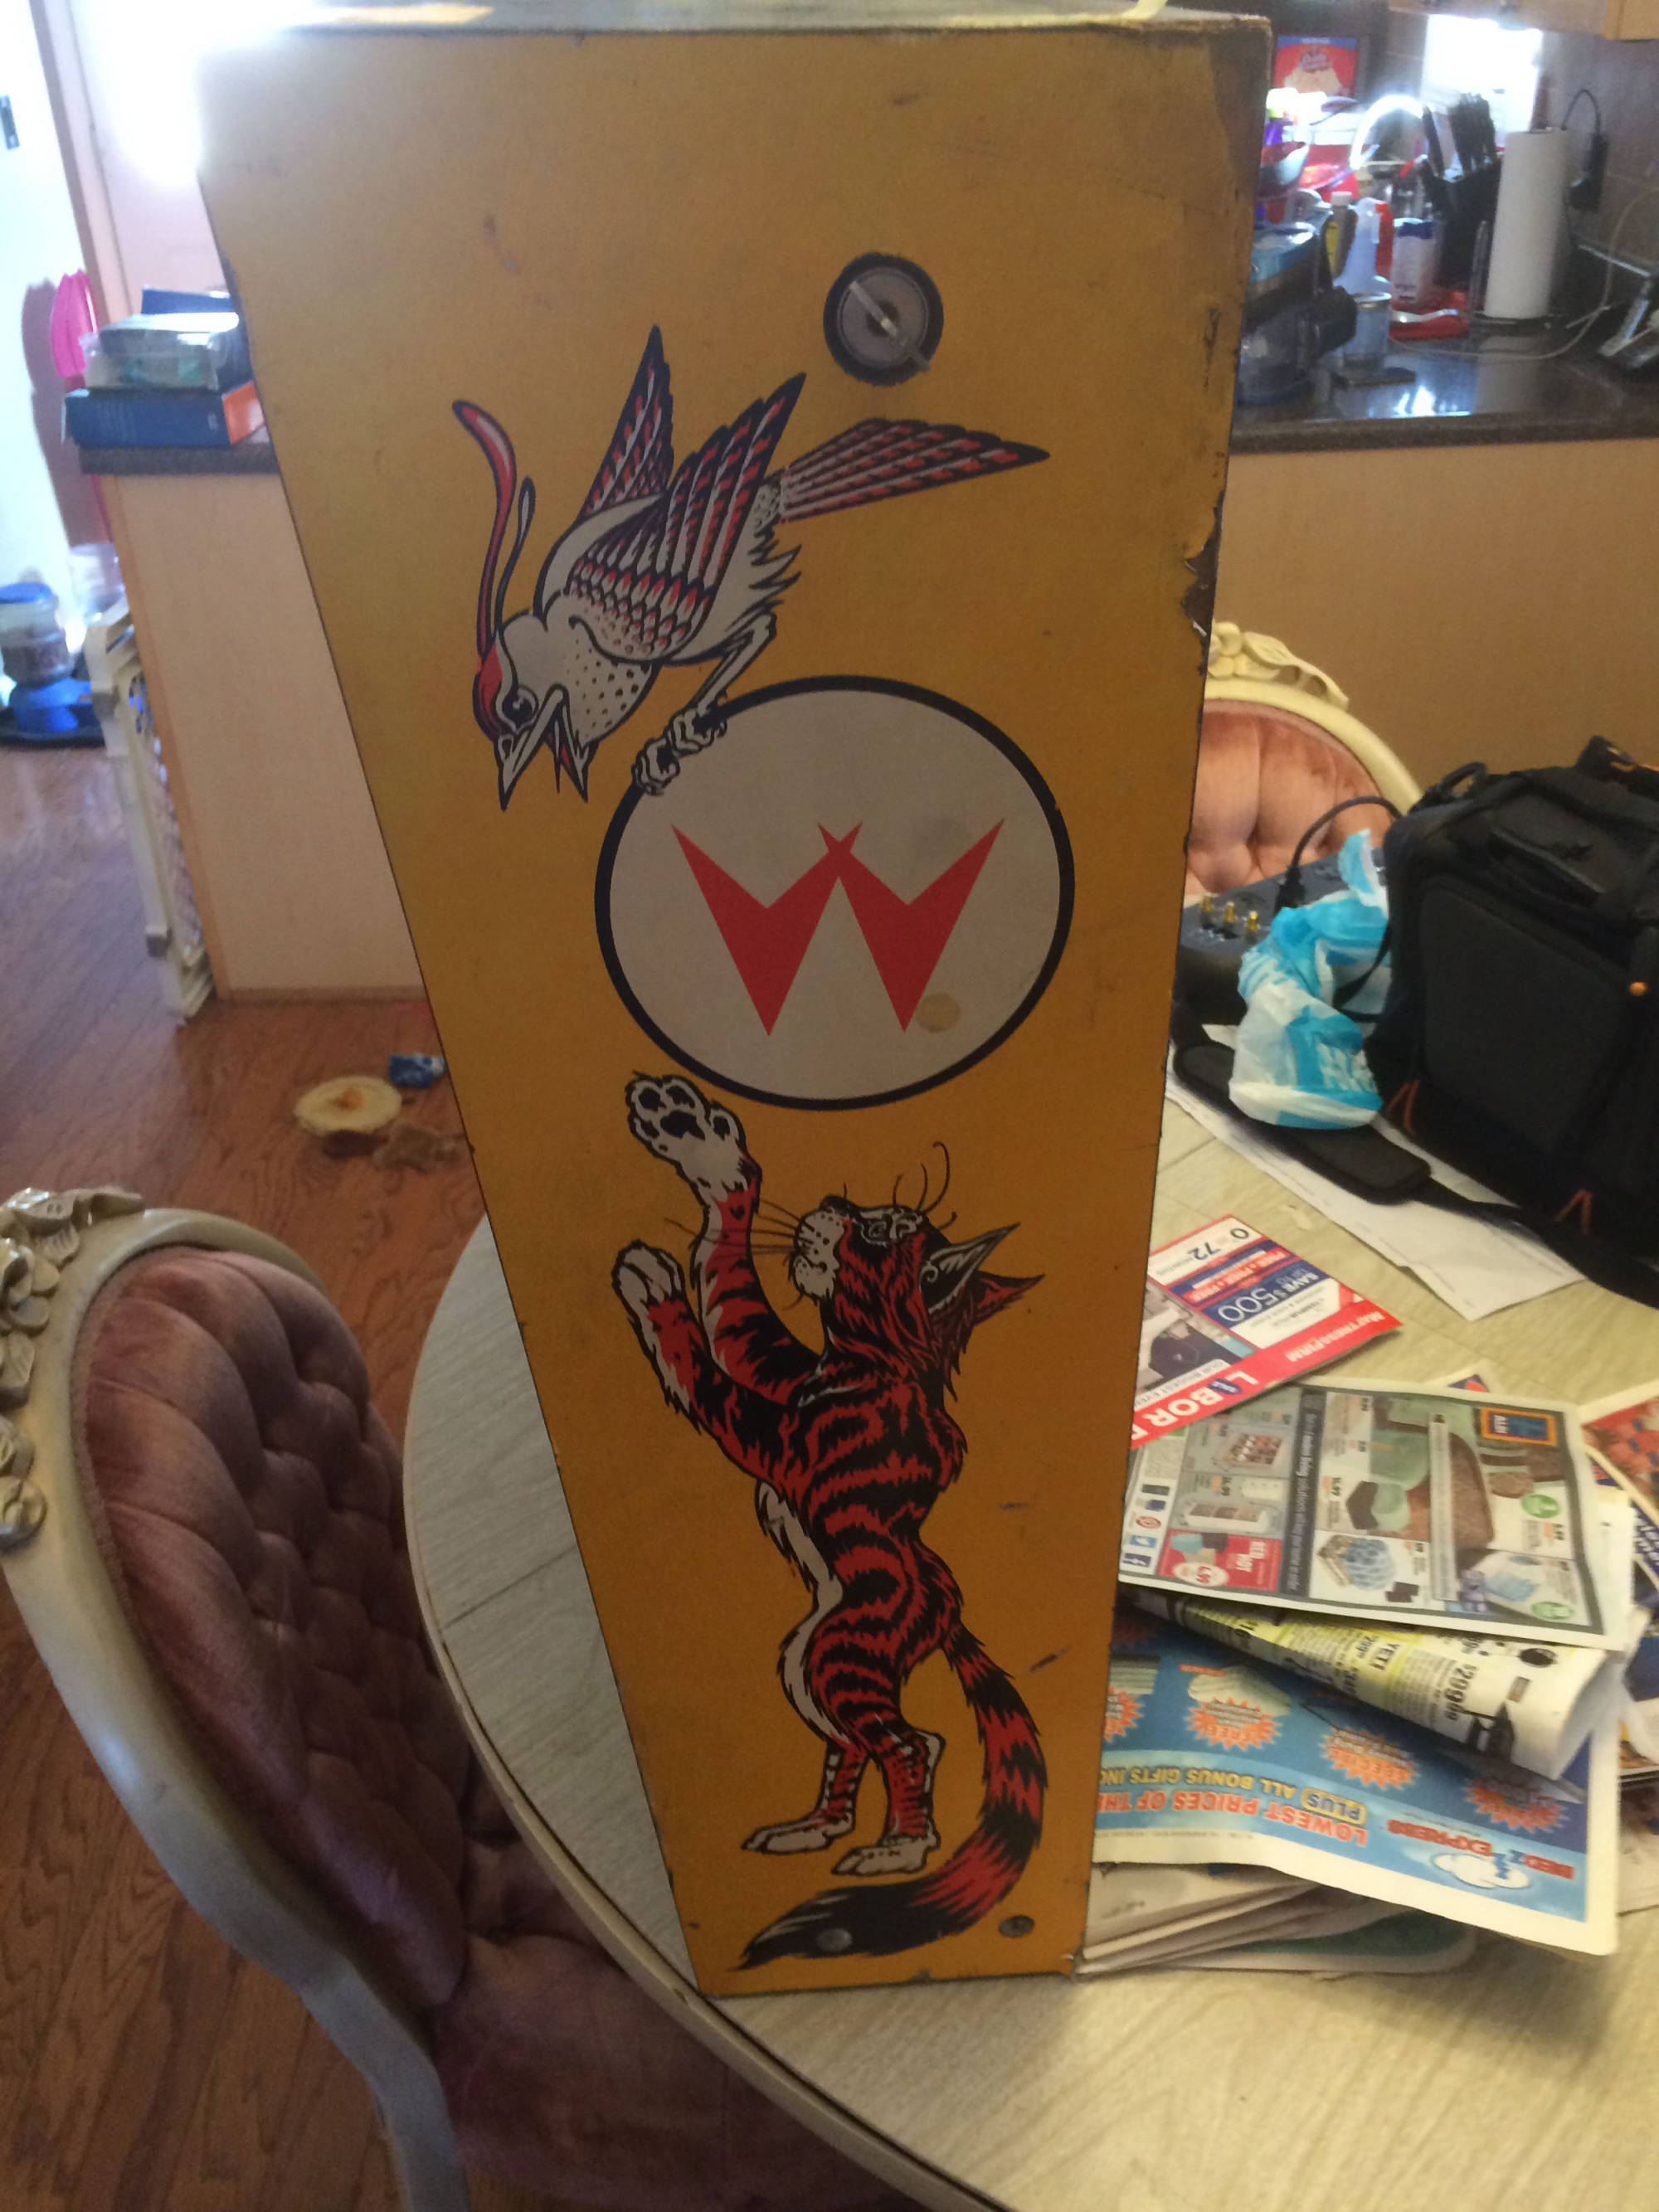
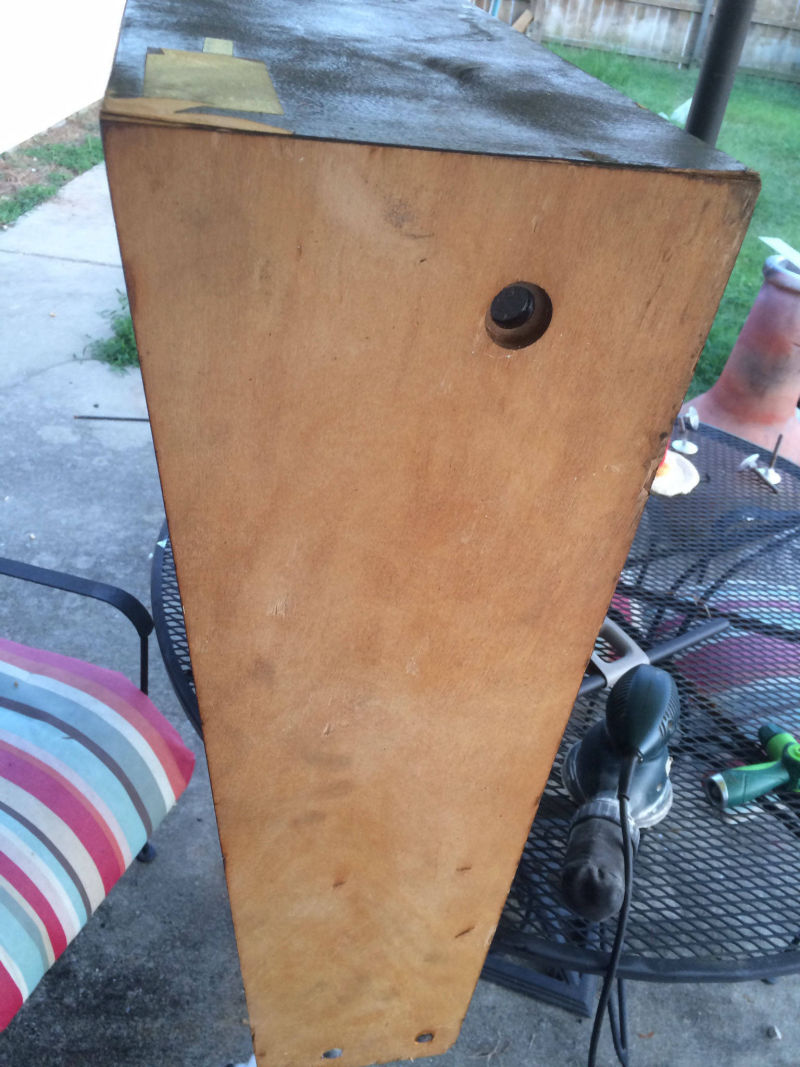
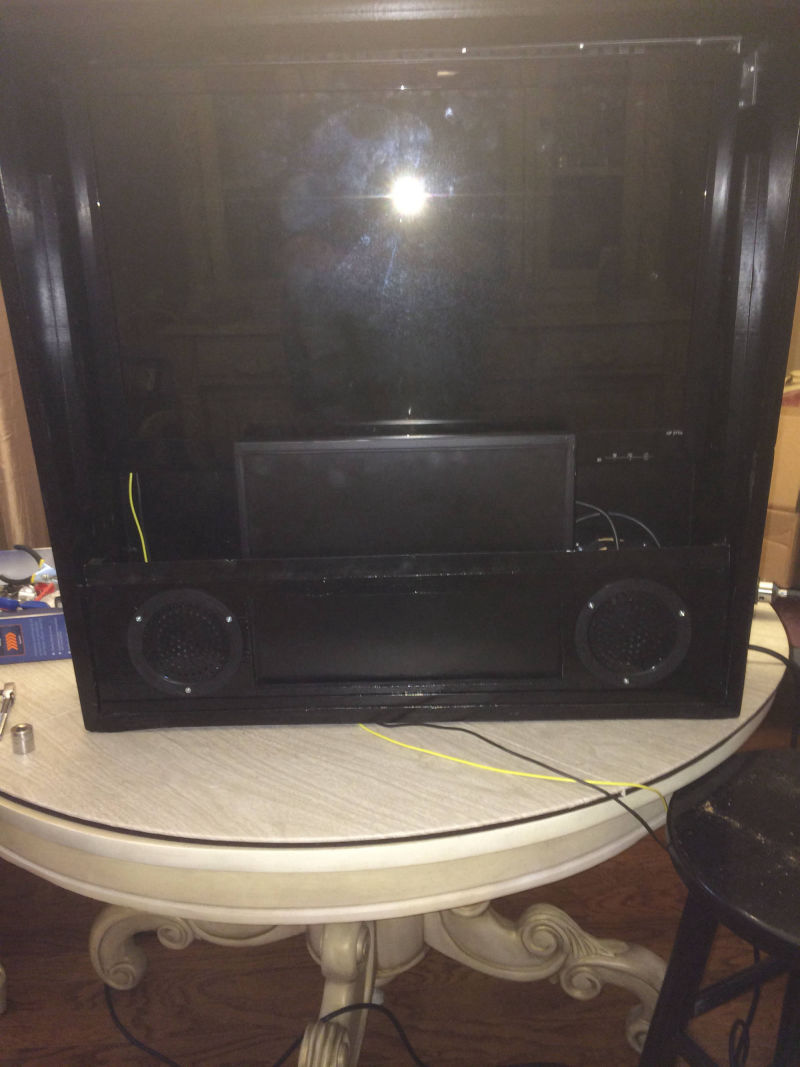
I worked on the main body today. Had to remove alot of metal and all the vinyal stickers. I originaly thought it was all paint.  After much debate, I decided to get a heat gun from Harber Freight and tools, about $16.00 with tax. This made the removal of the vinyal stickers much easier and removed most the glue. I highly recomend this process if it is covered in vynal. I took some measurements and BackGlass area is 27" 3/8 square. The Main body is 51 1/2" long, Front is 16" high, back is 24" high. Inside width is 20 1/2". Lengh to the lockdown bar is 41 1/2" long. This means 40-42 inch LCD TV Should be fit with out modification. We shall see. After doing some research, I bough a TV mount from Bargain Hunt for $9.00. This will allow me to swing out the TV from the Back so I can get to it incase I need to ajust or move wires. Since I have removed the stickers I am deciding to paint or put vinyal back on. I have allready patched and will sand tomorrow and see how smooth I can get and that will determine if I do anything else.
 
UPDATE 3 - 1/15/2017
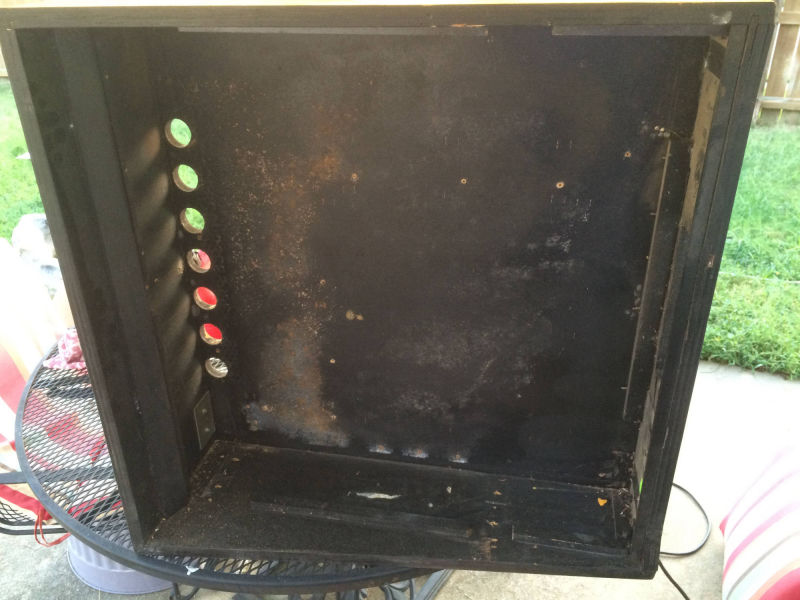
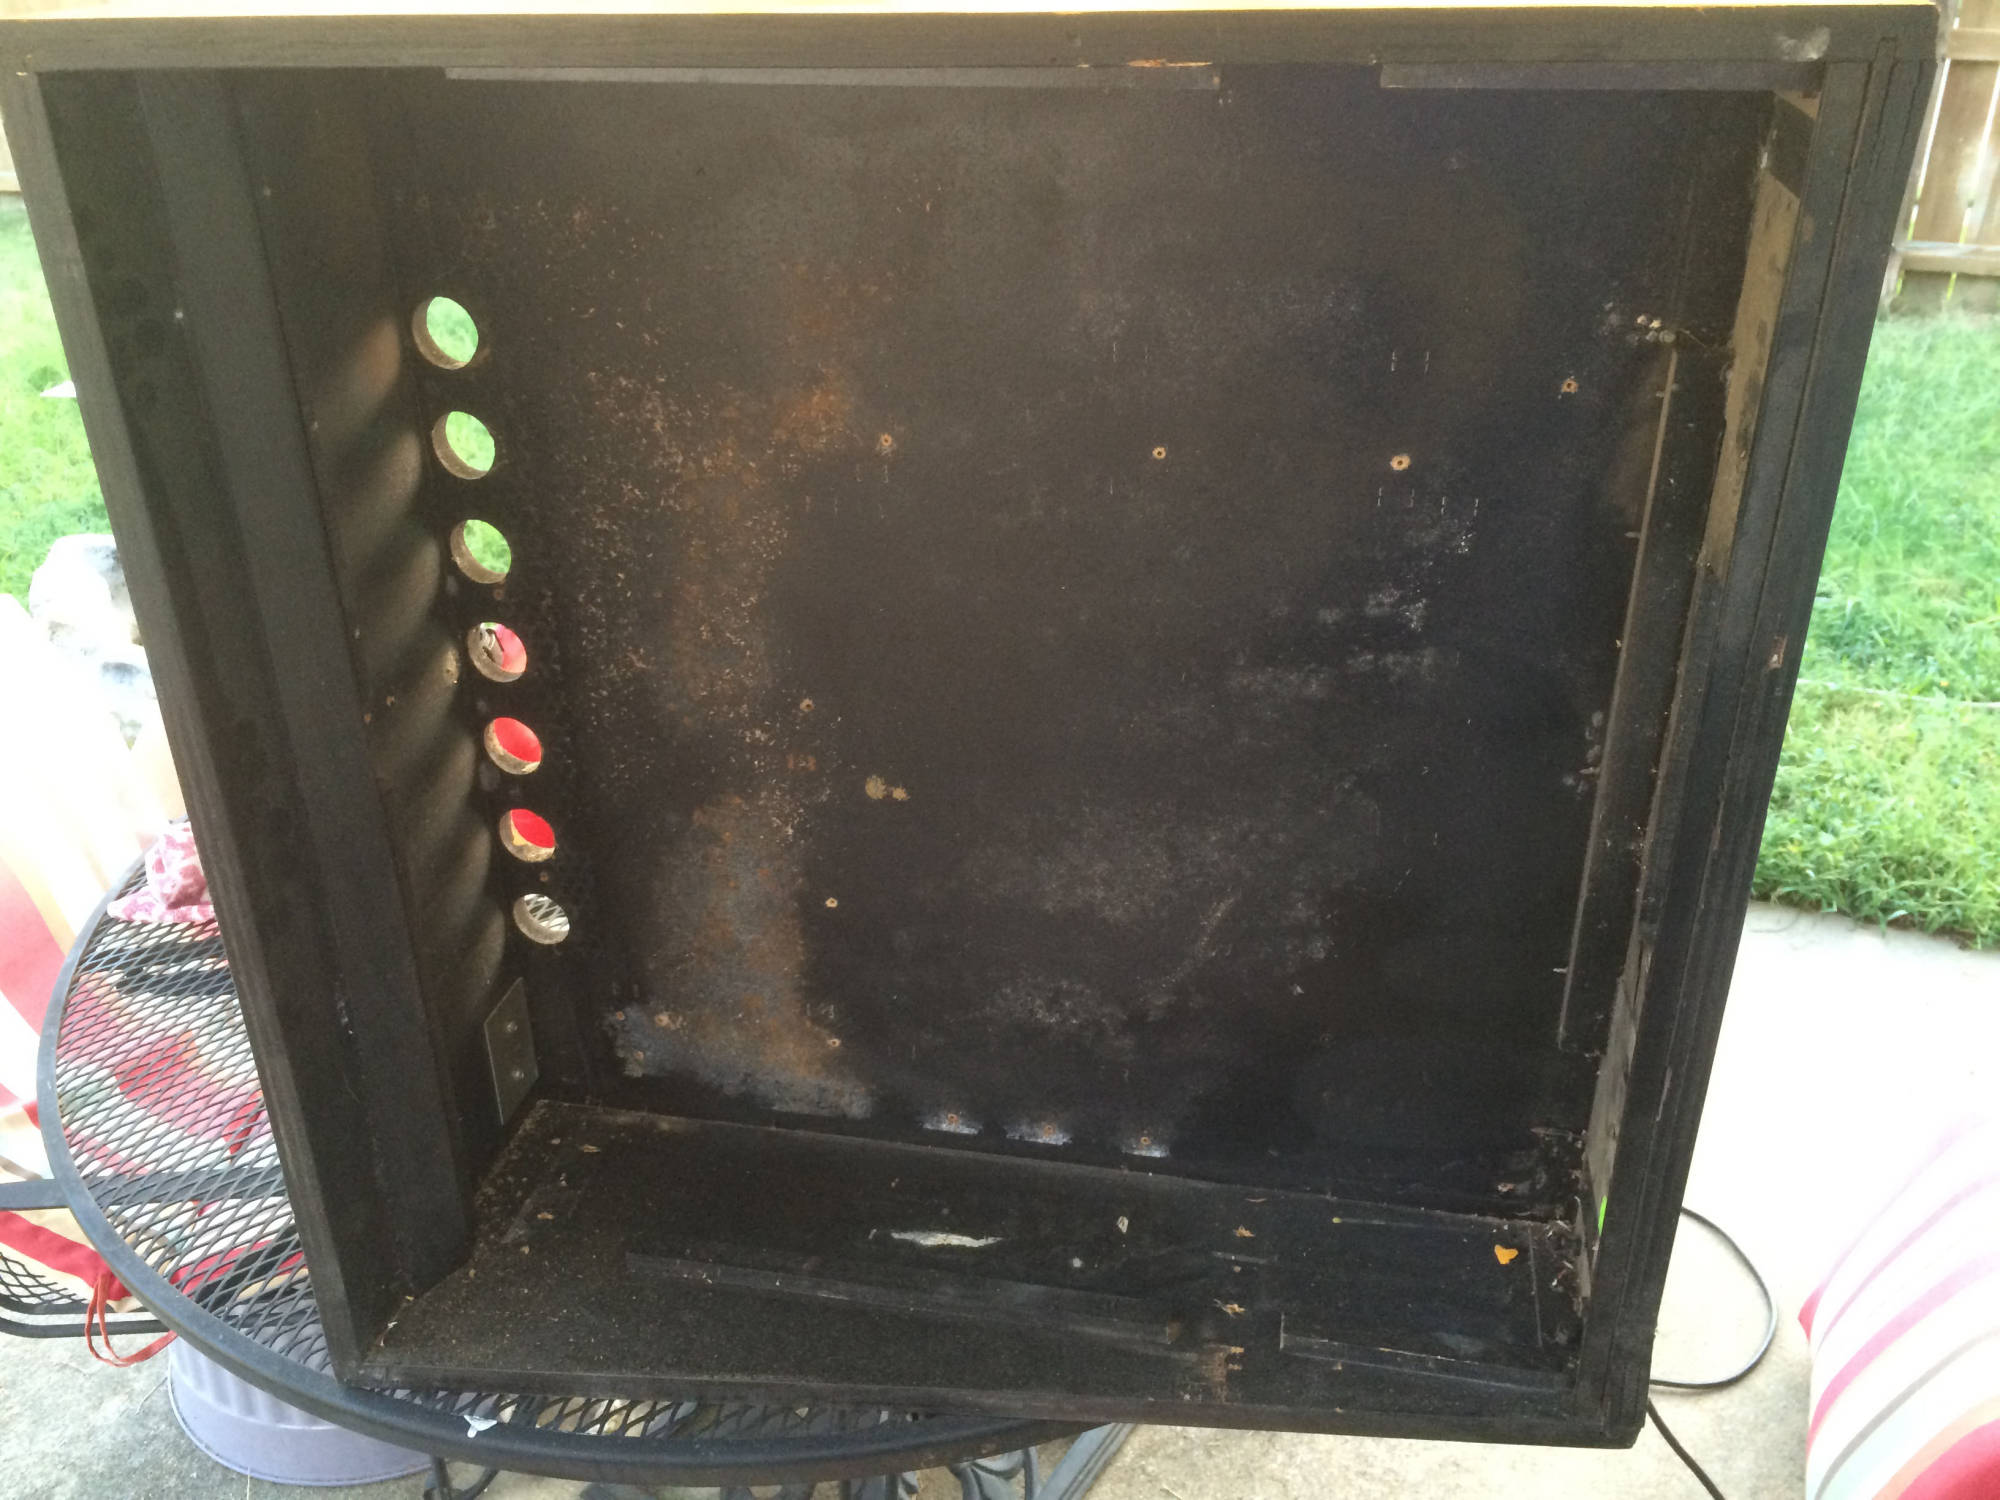
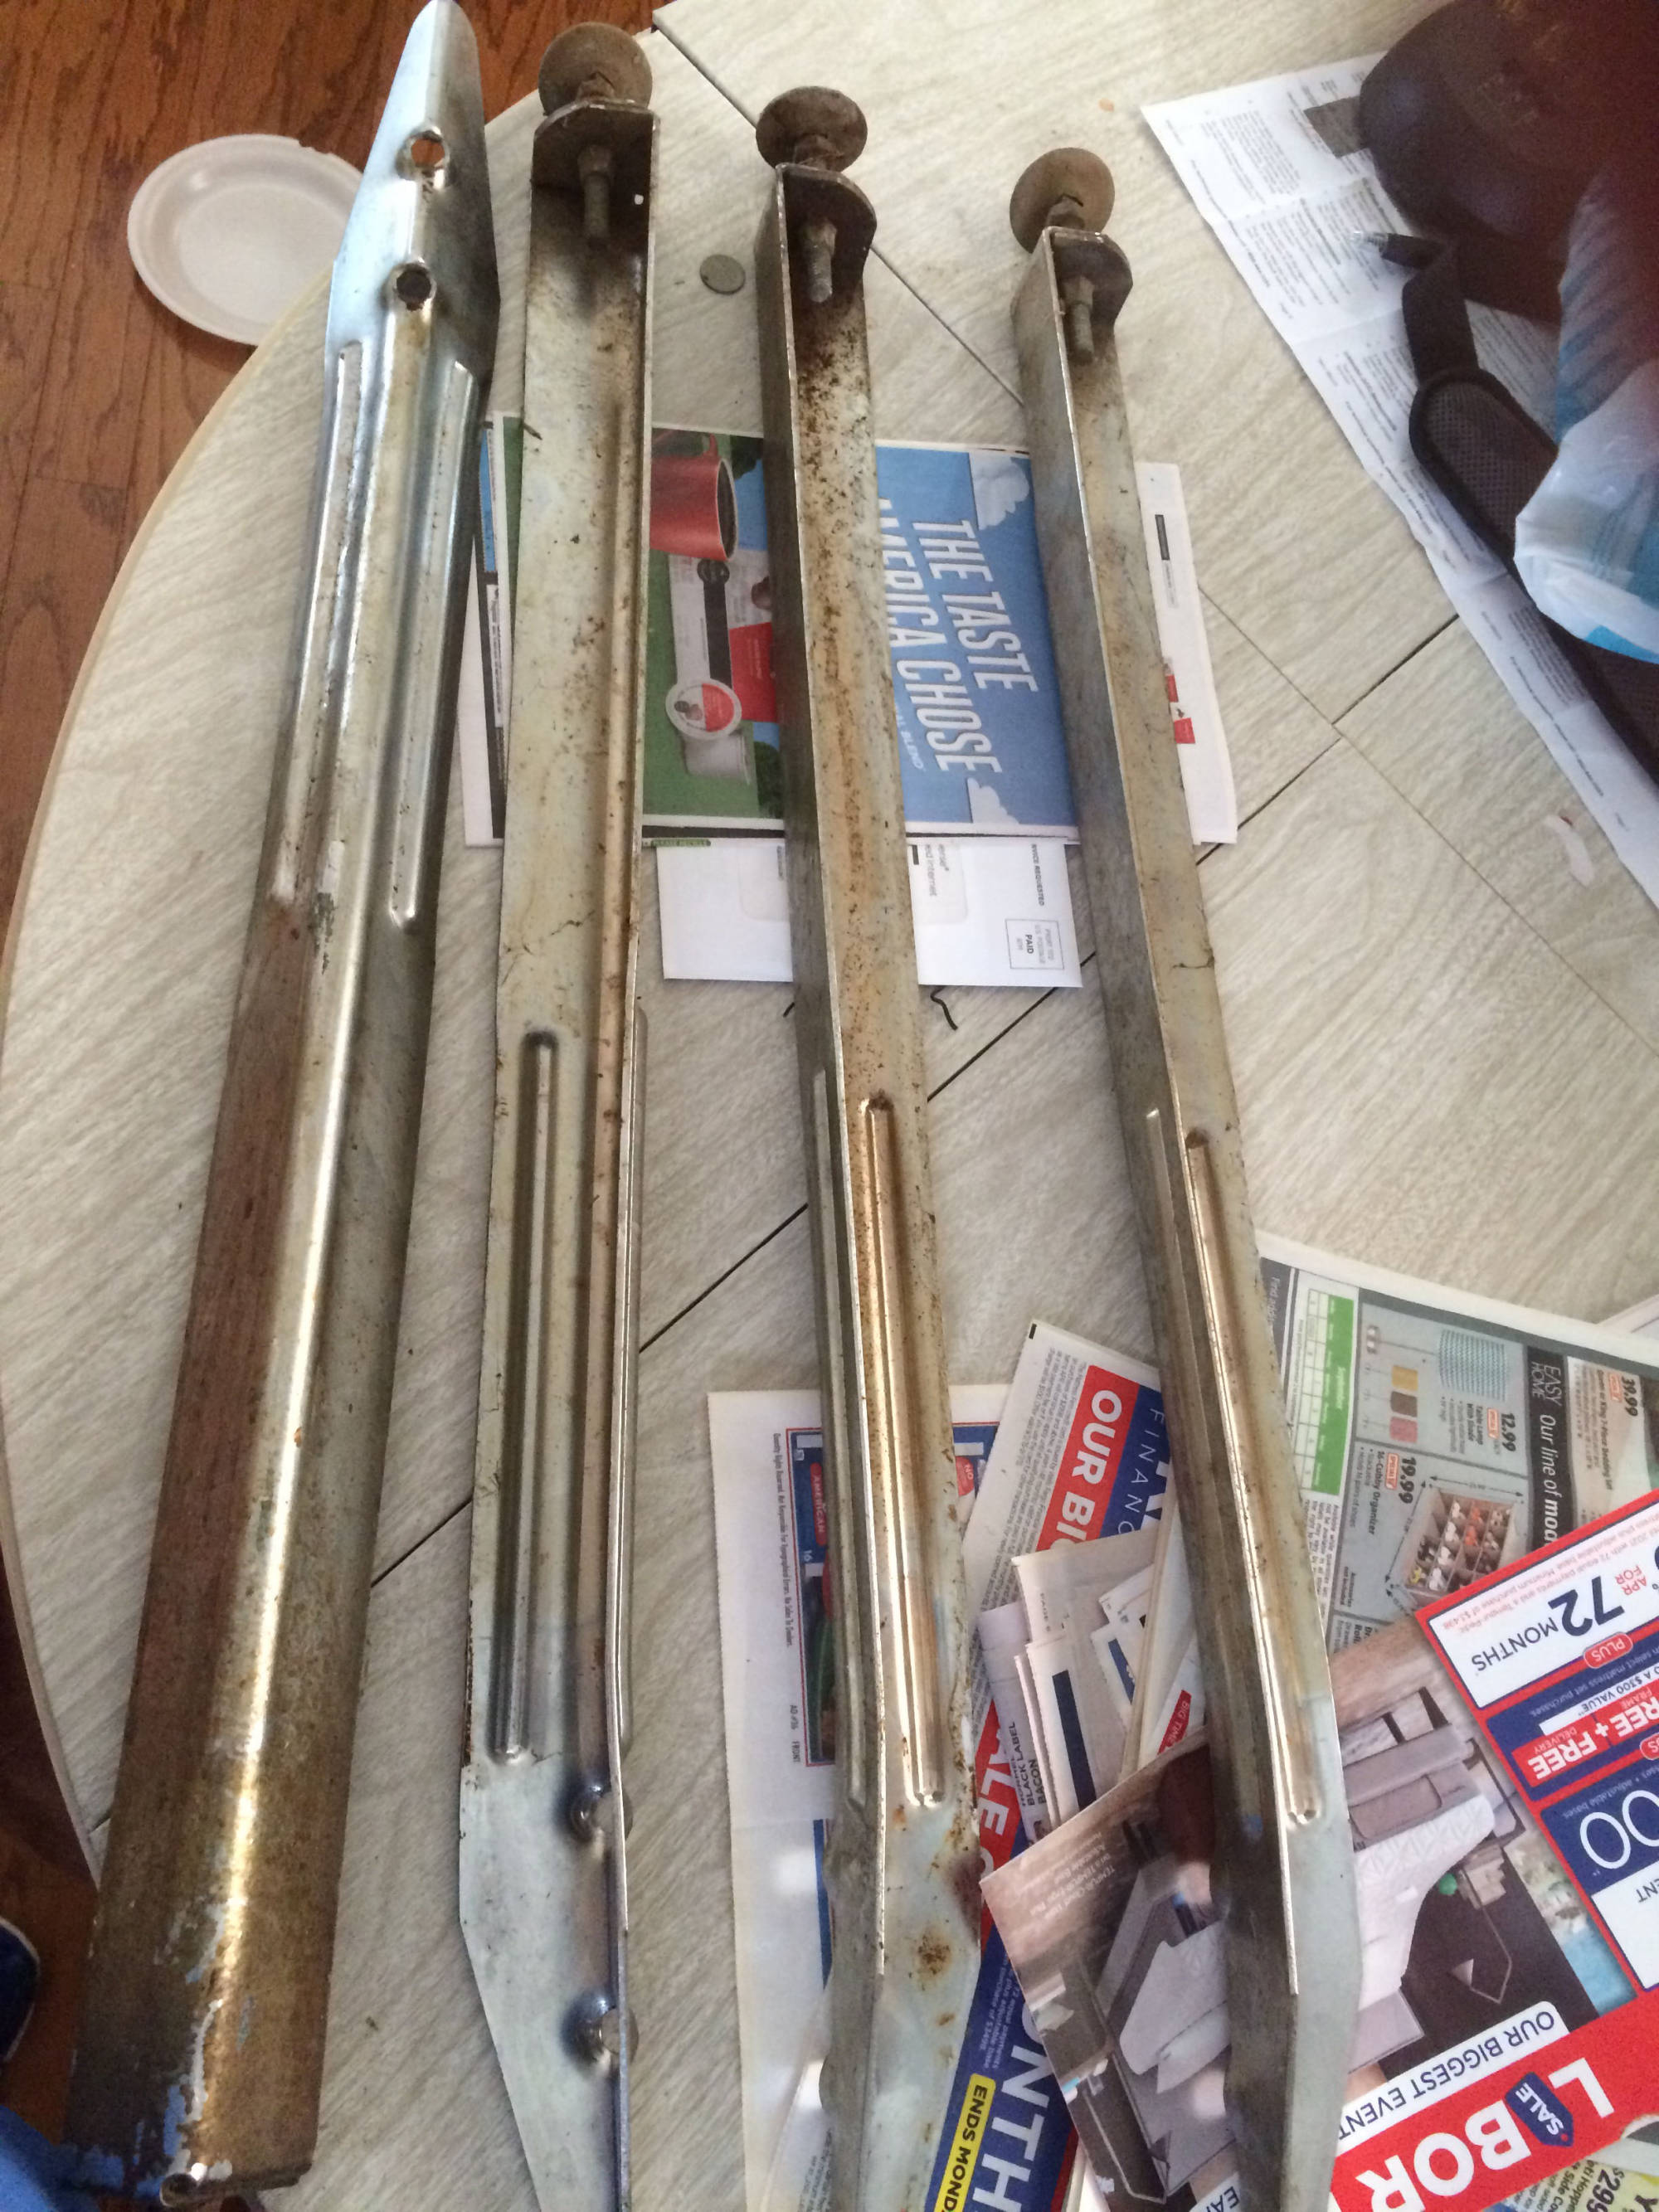
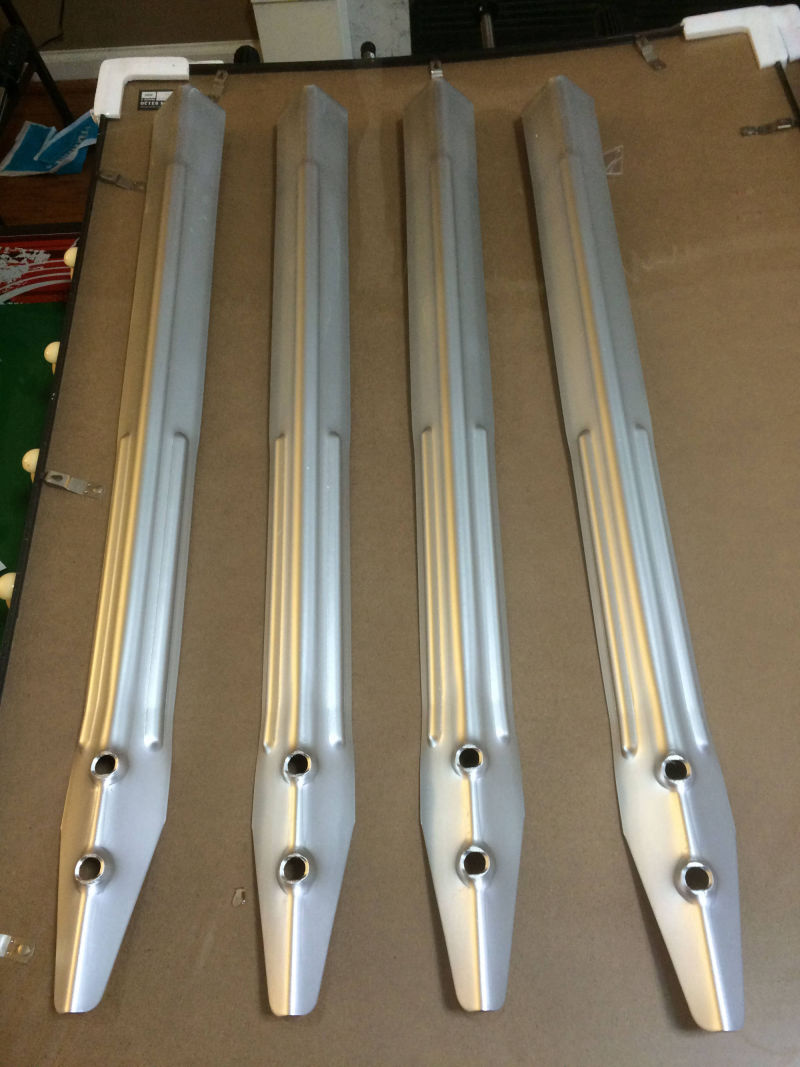
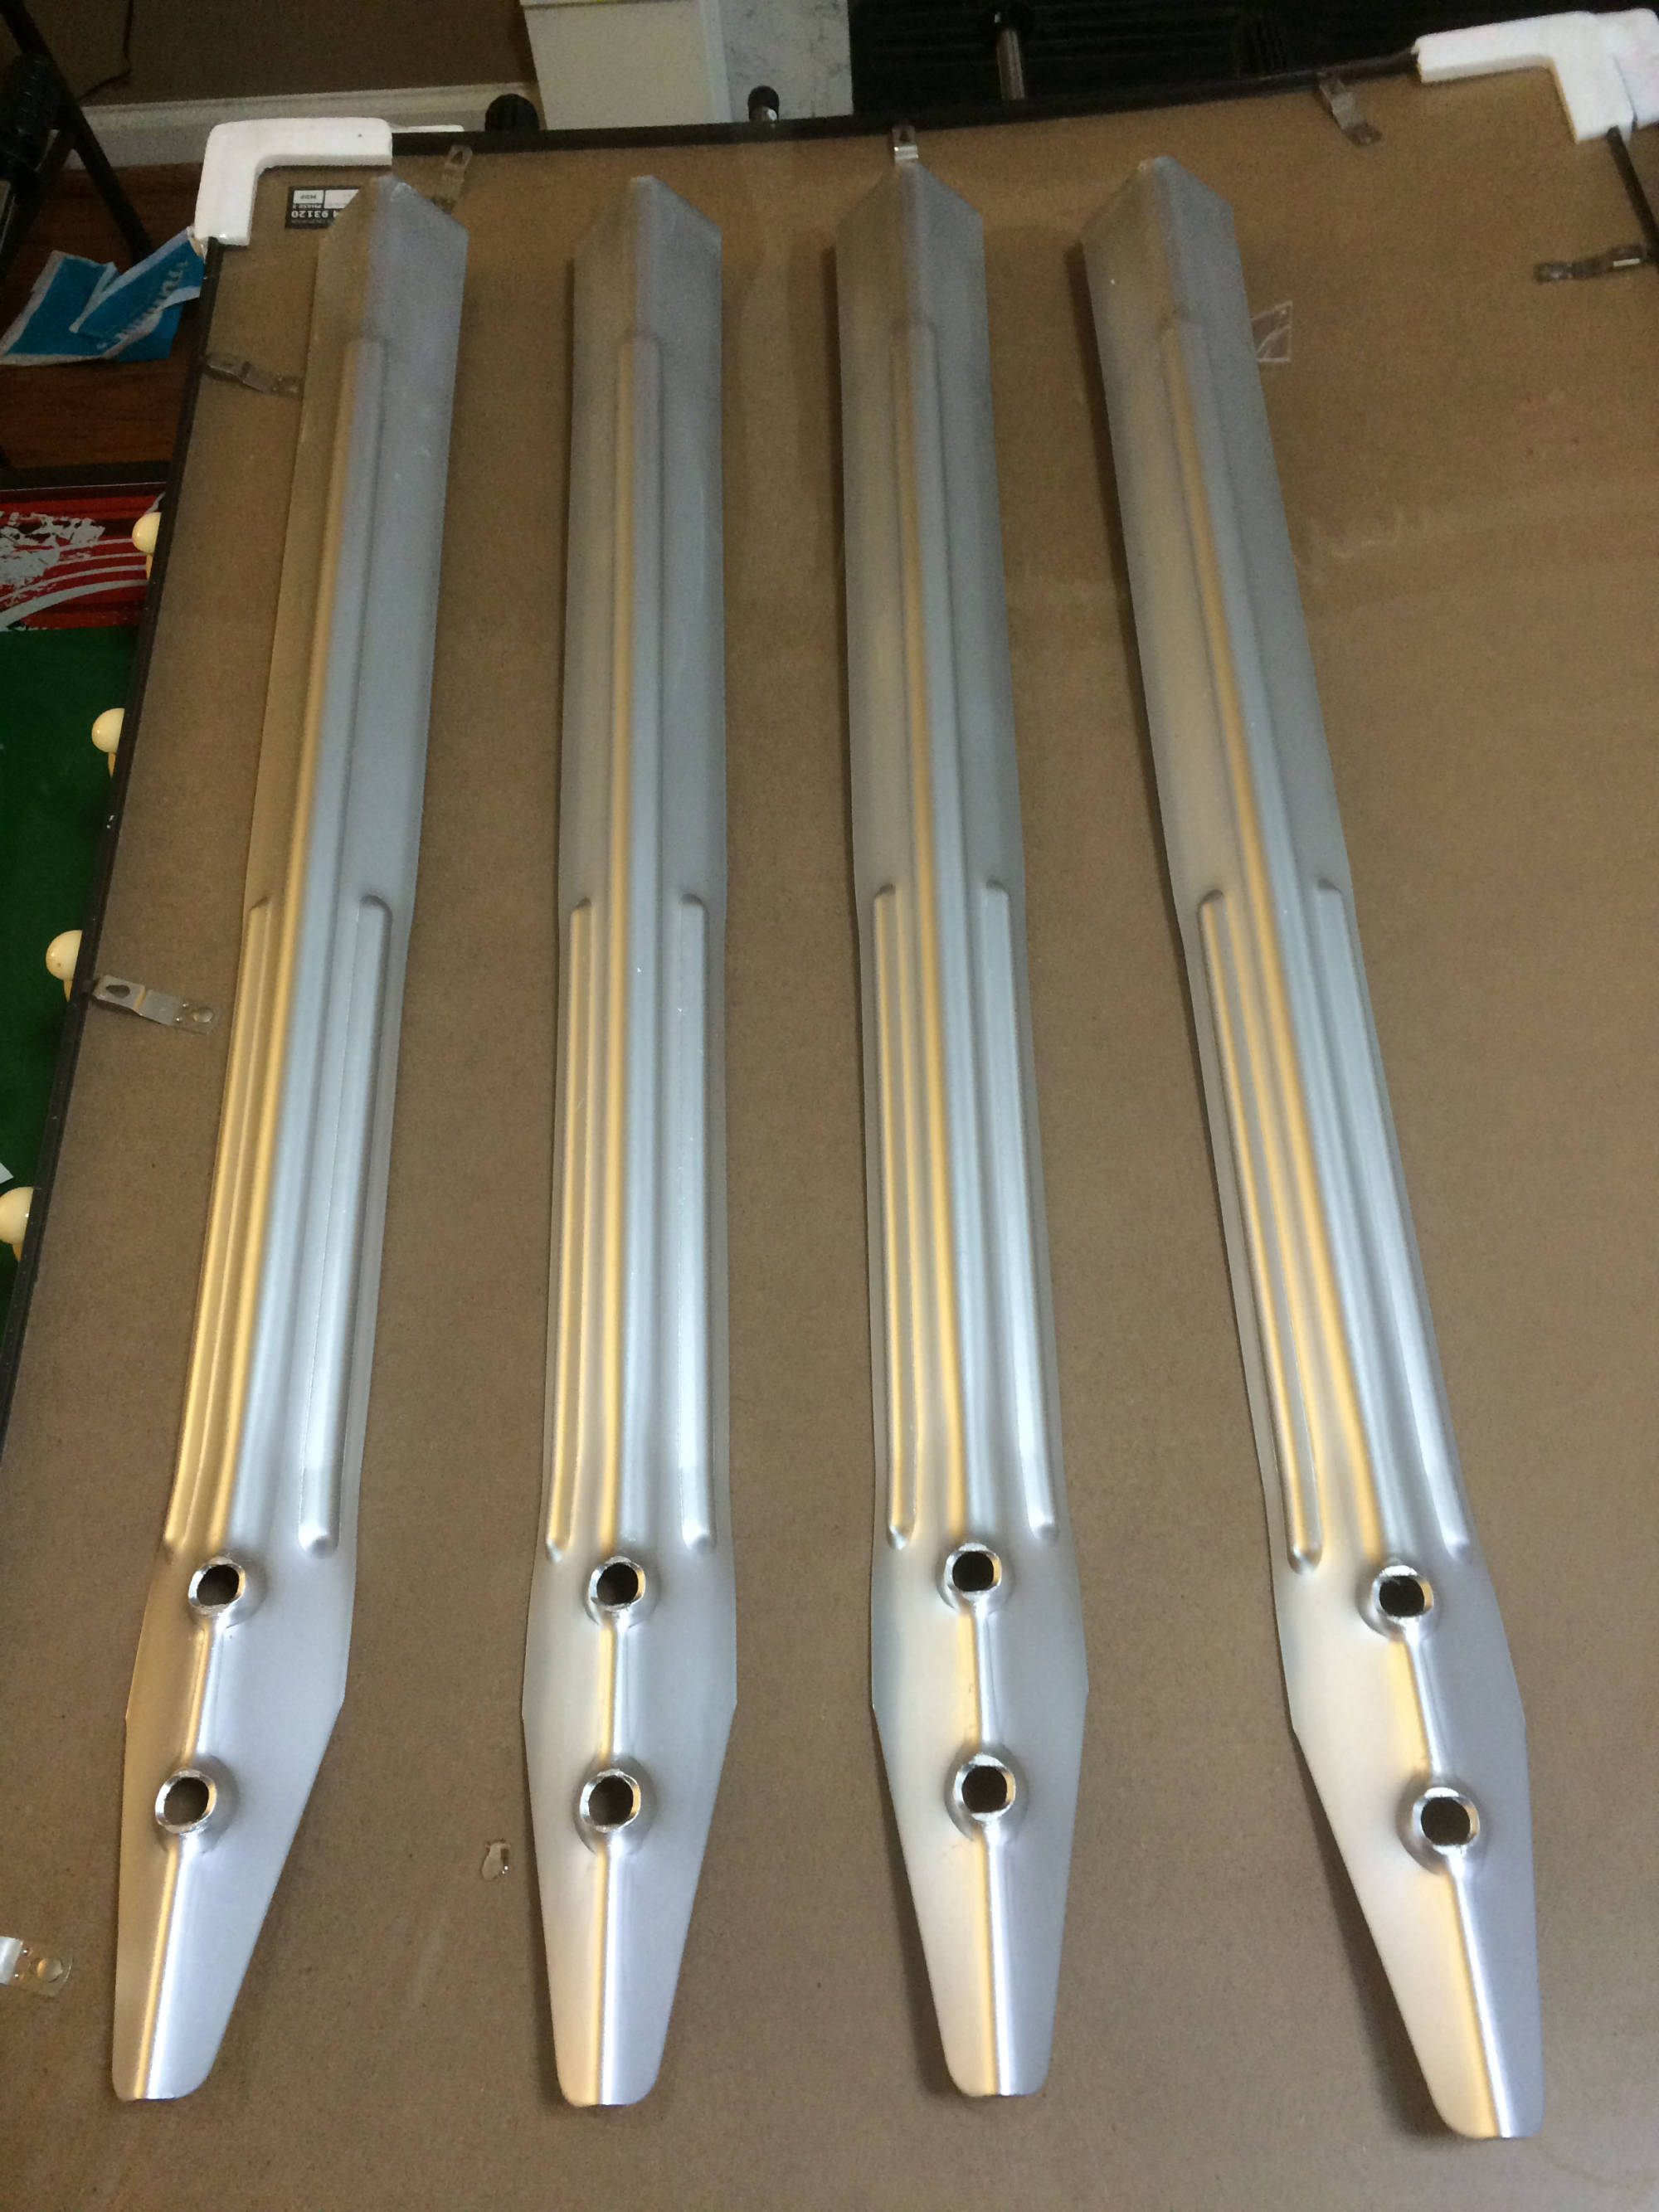
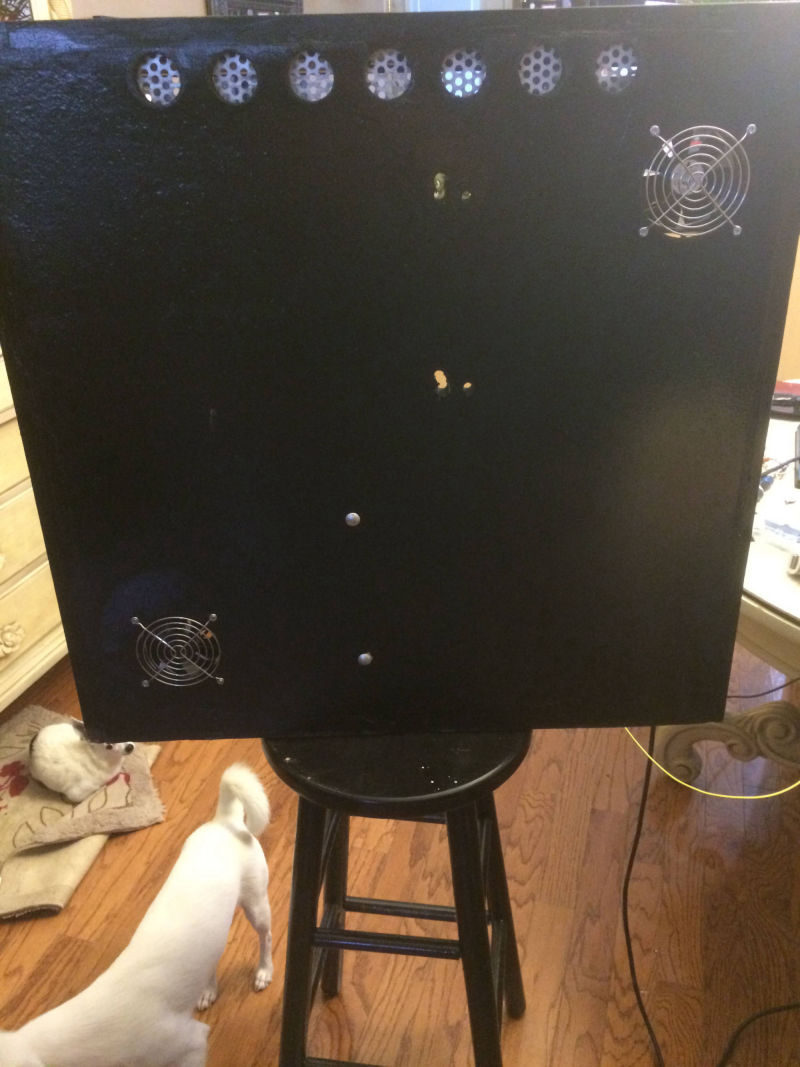
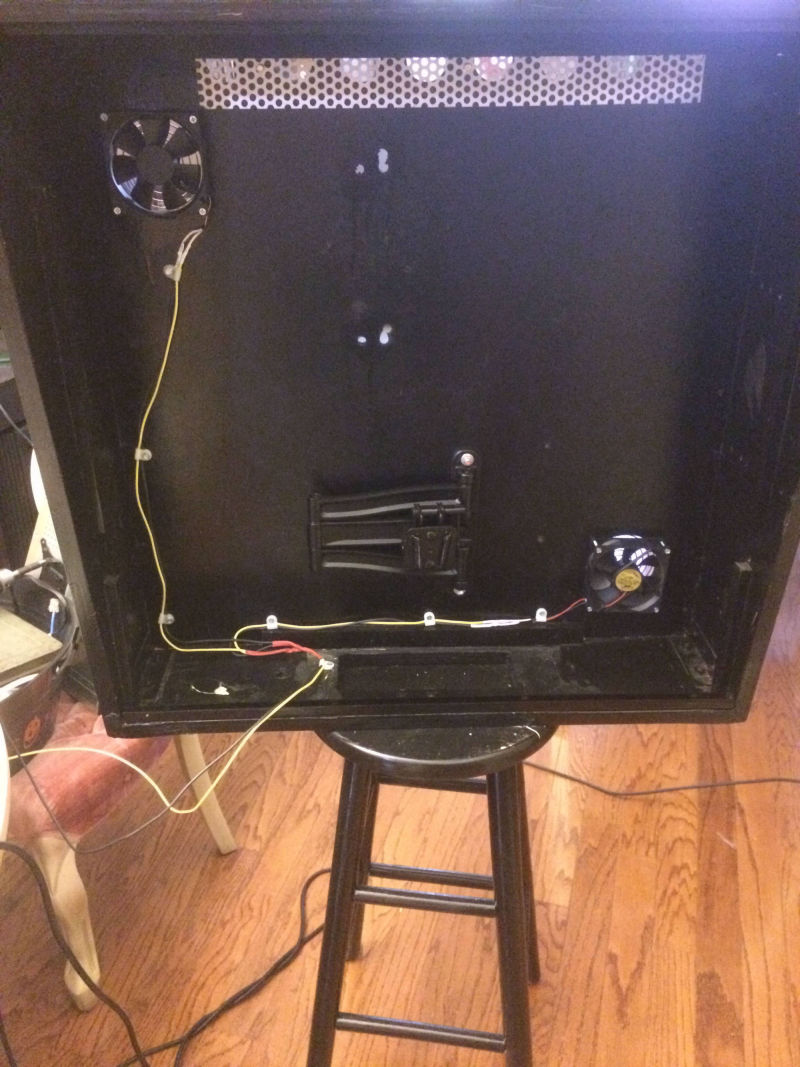
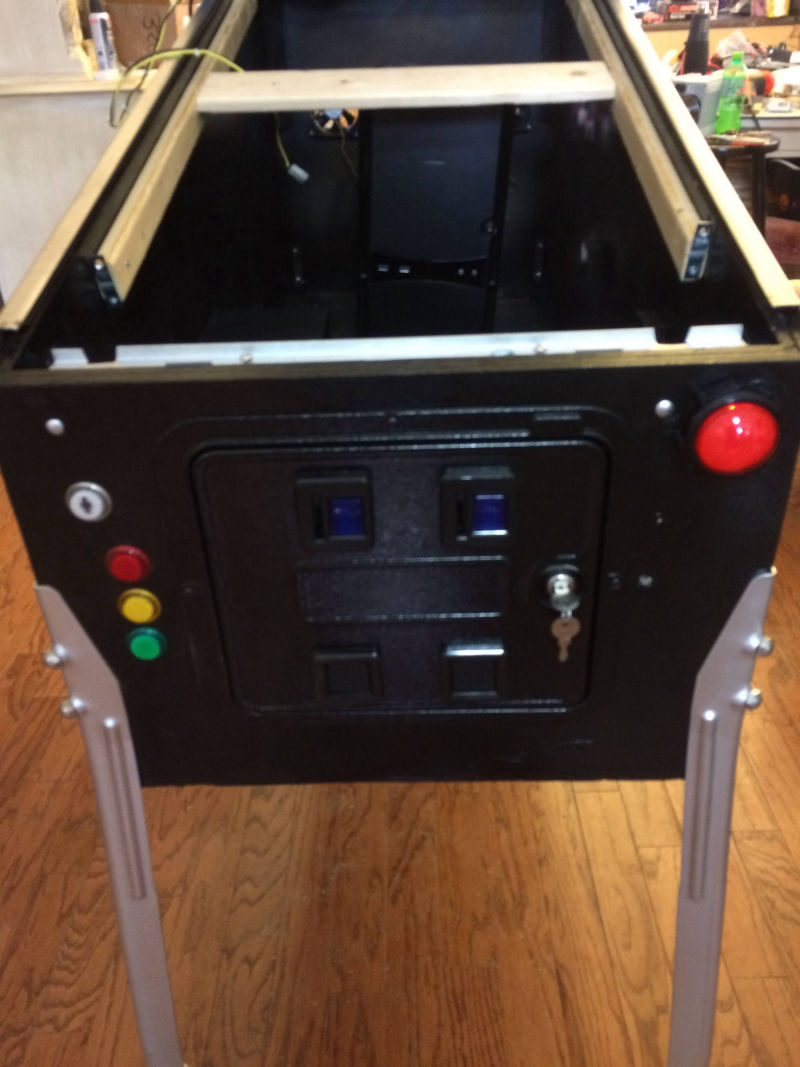
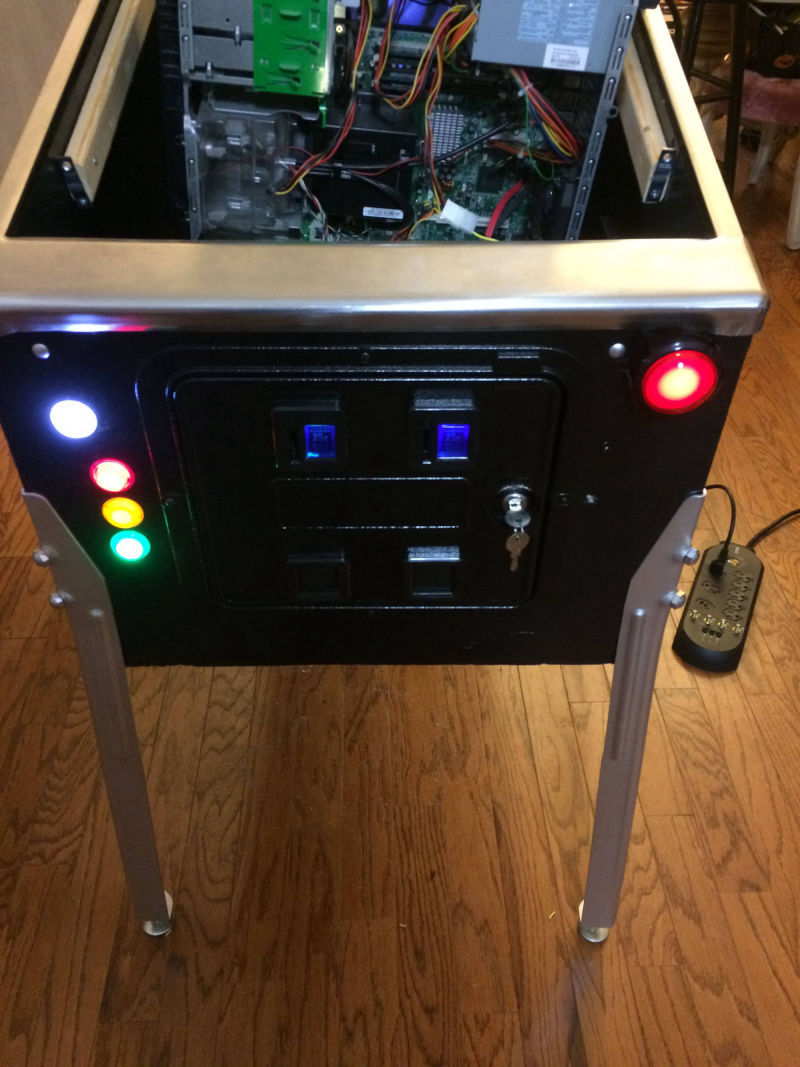
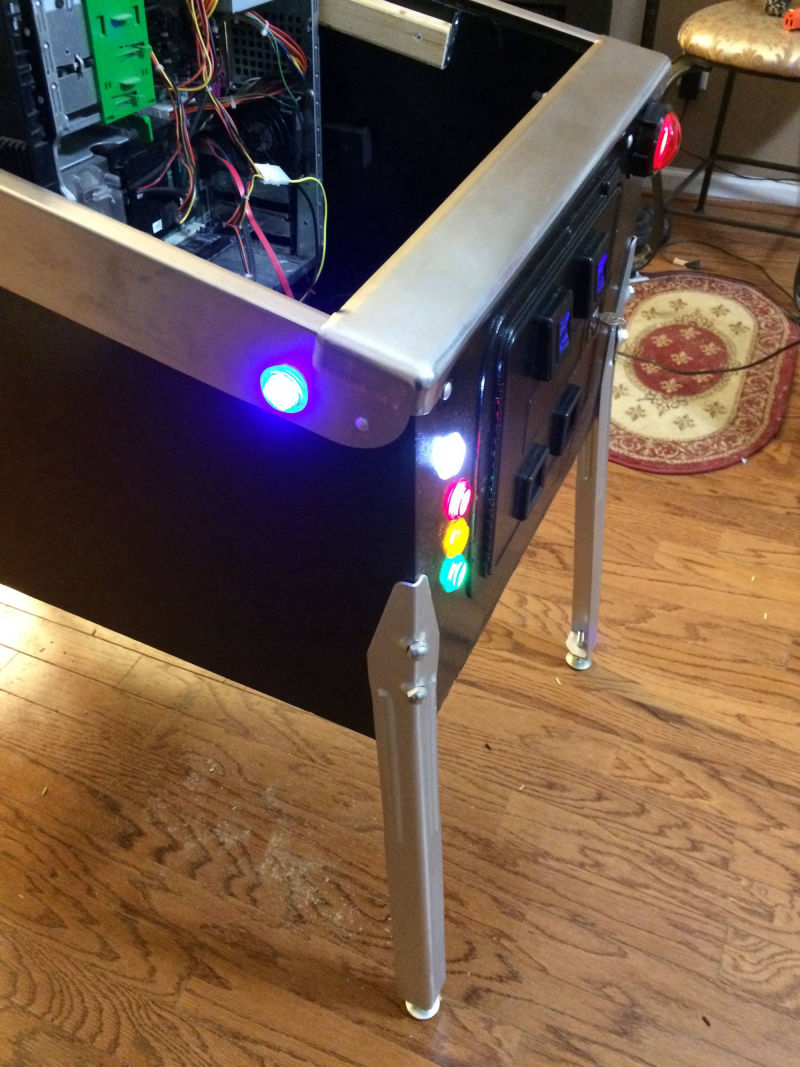
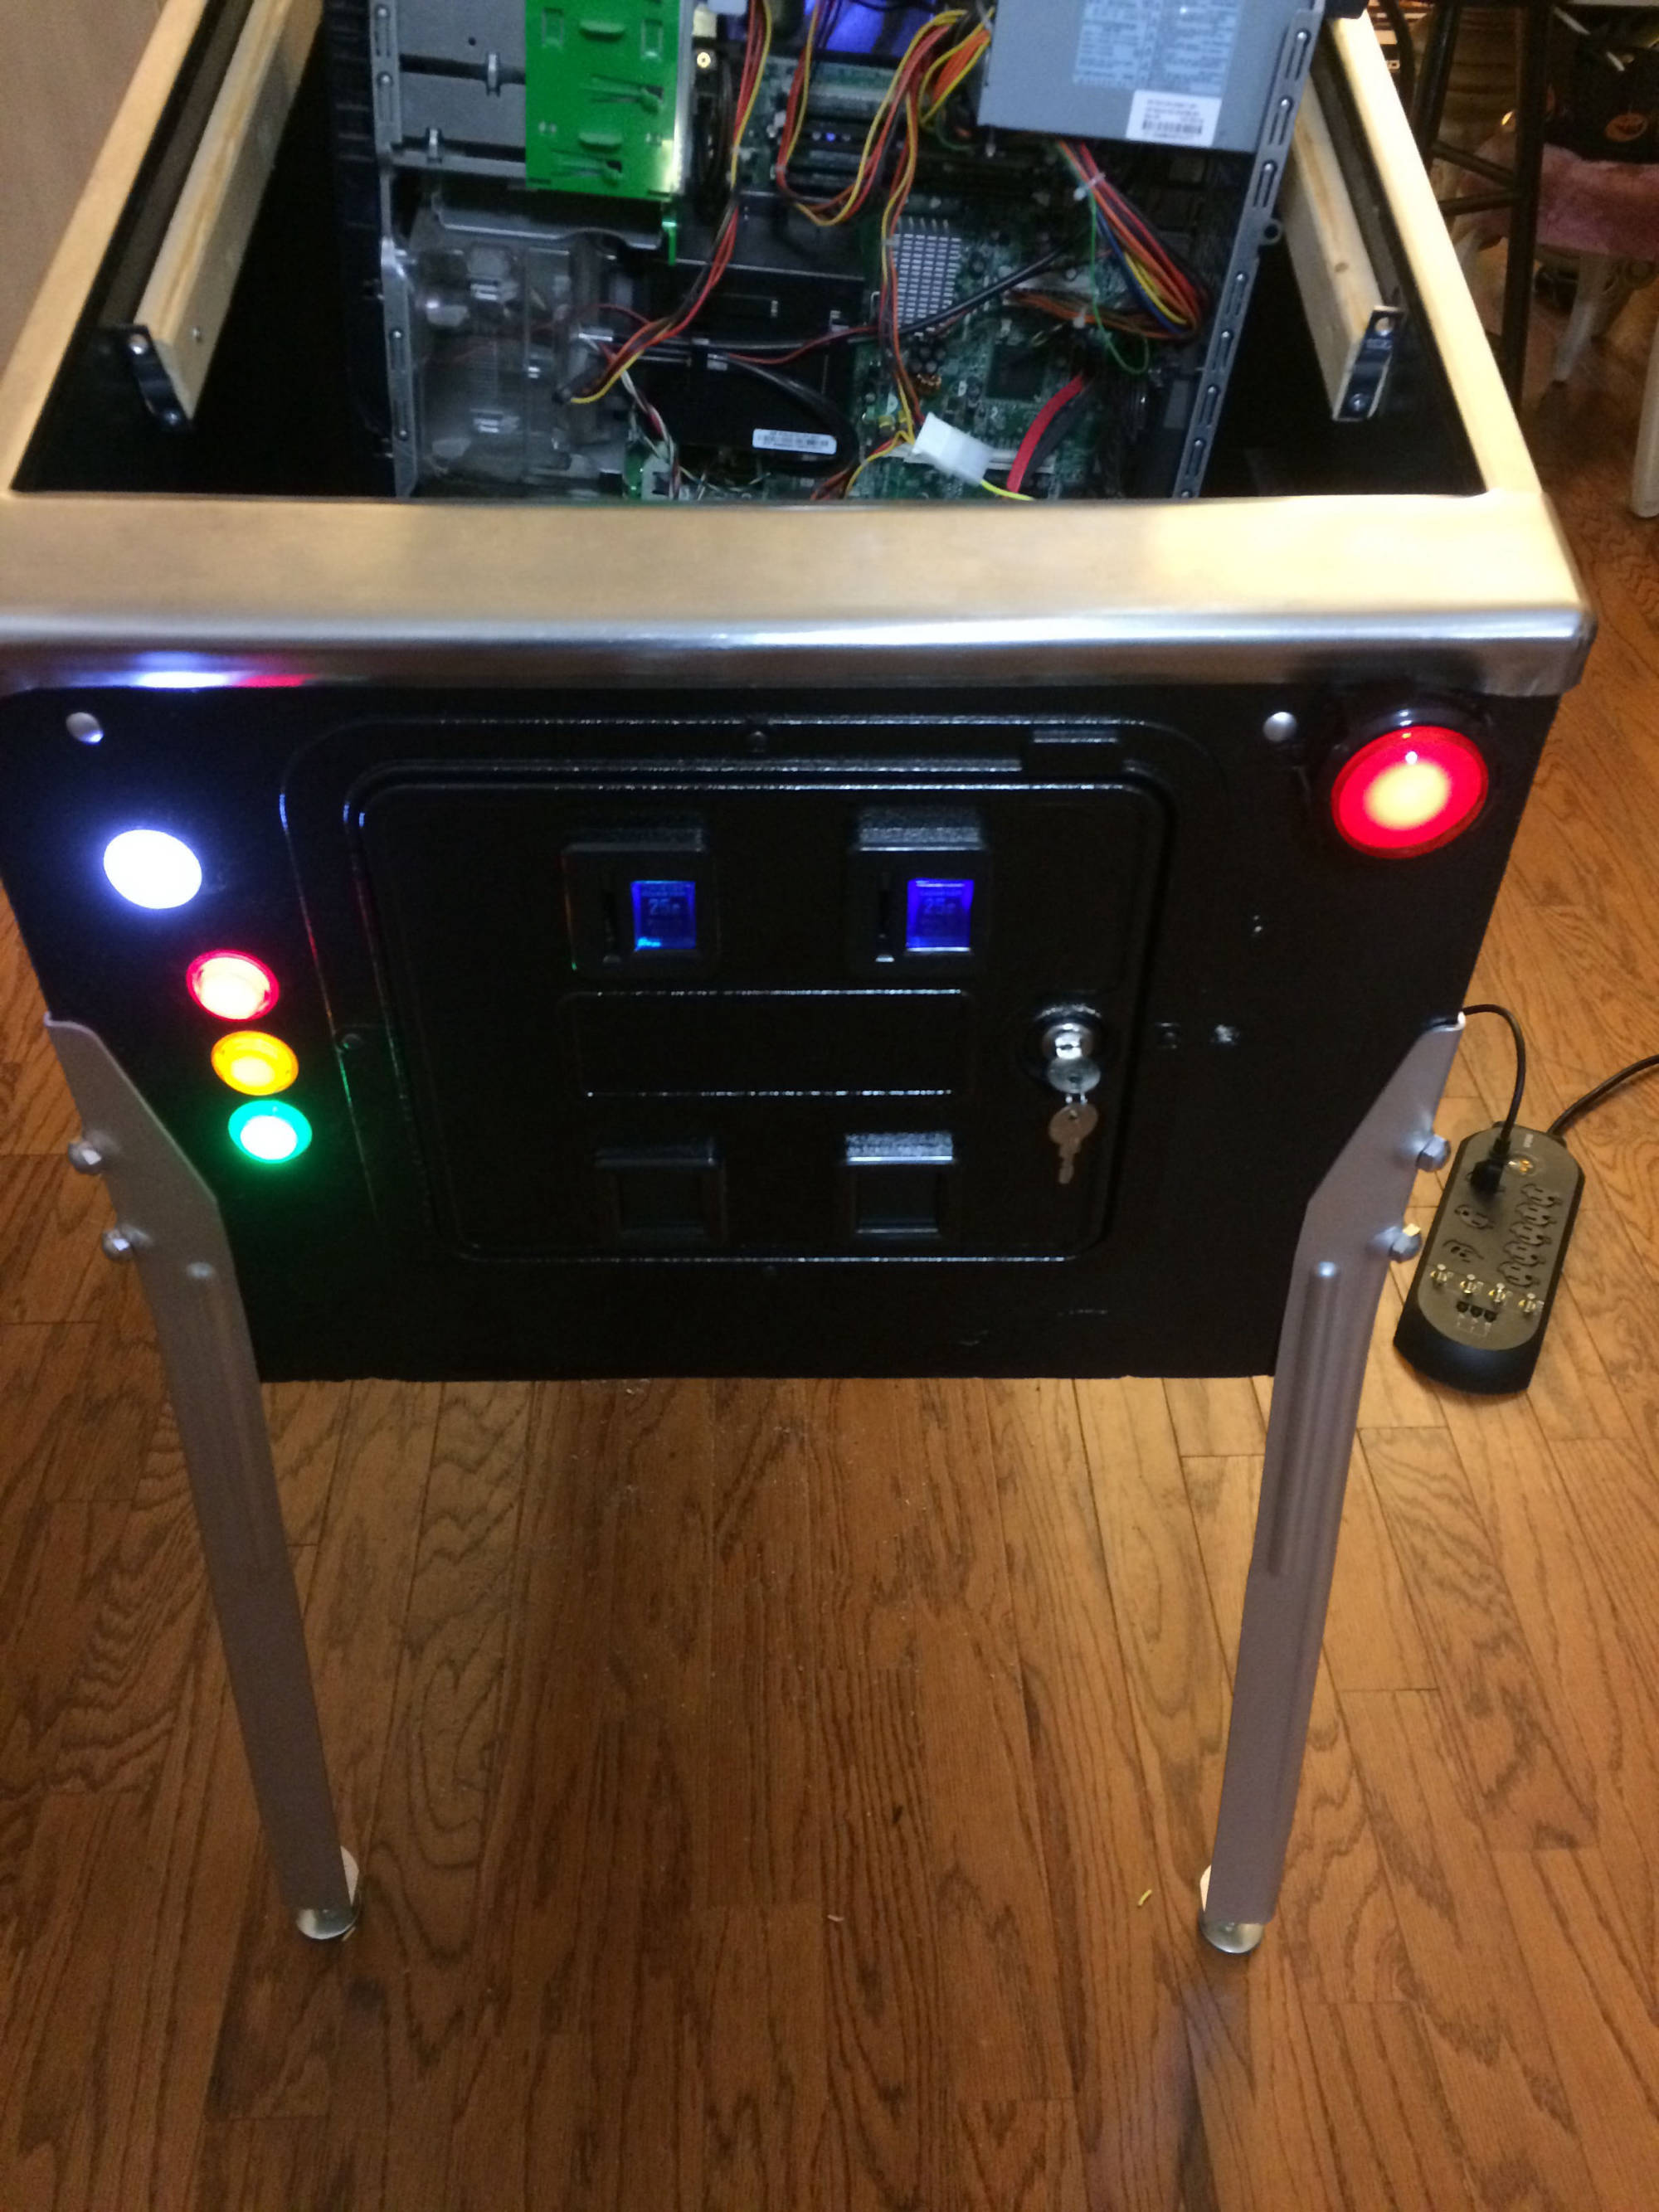
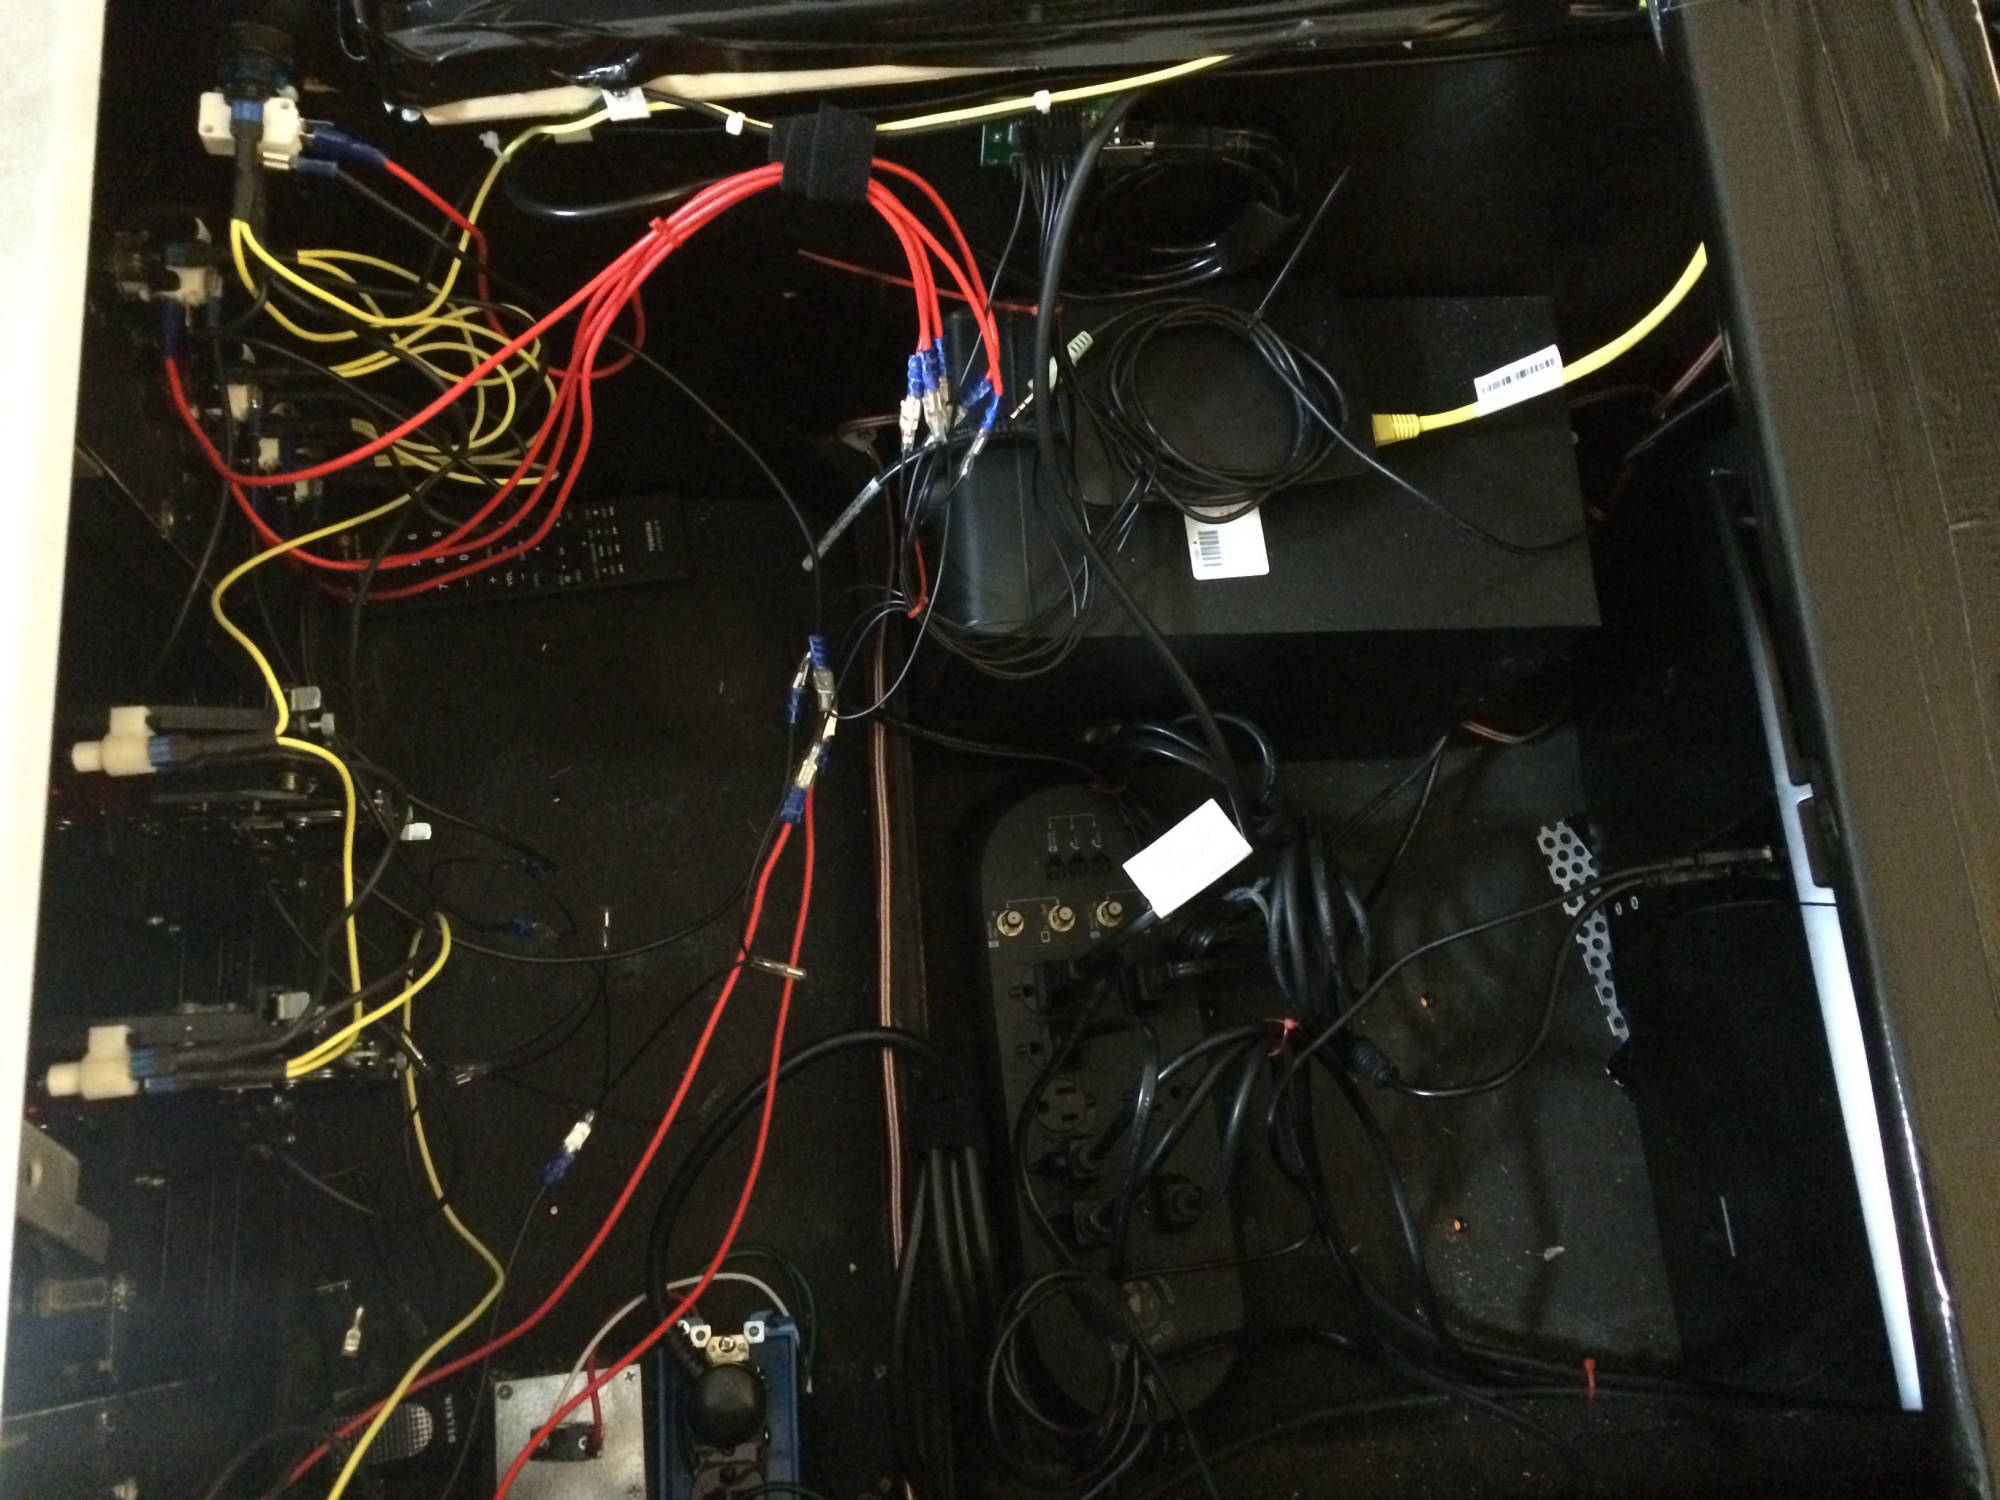
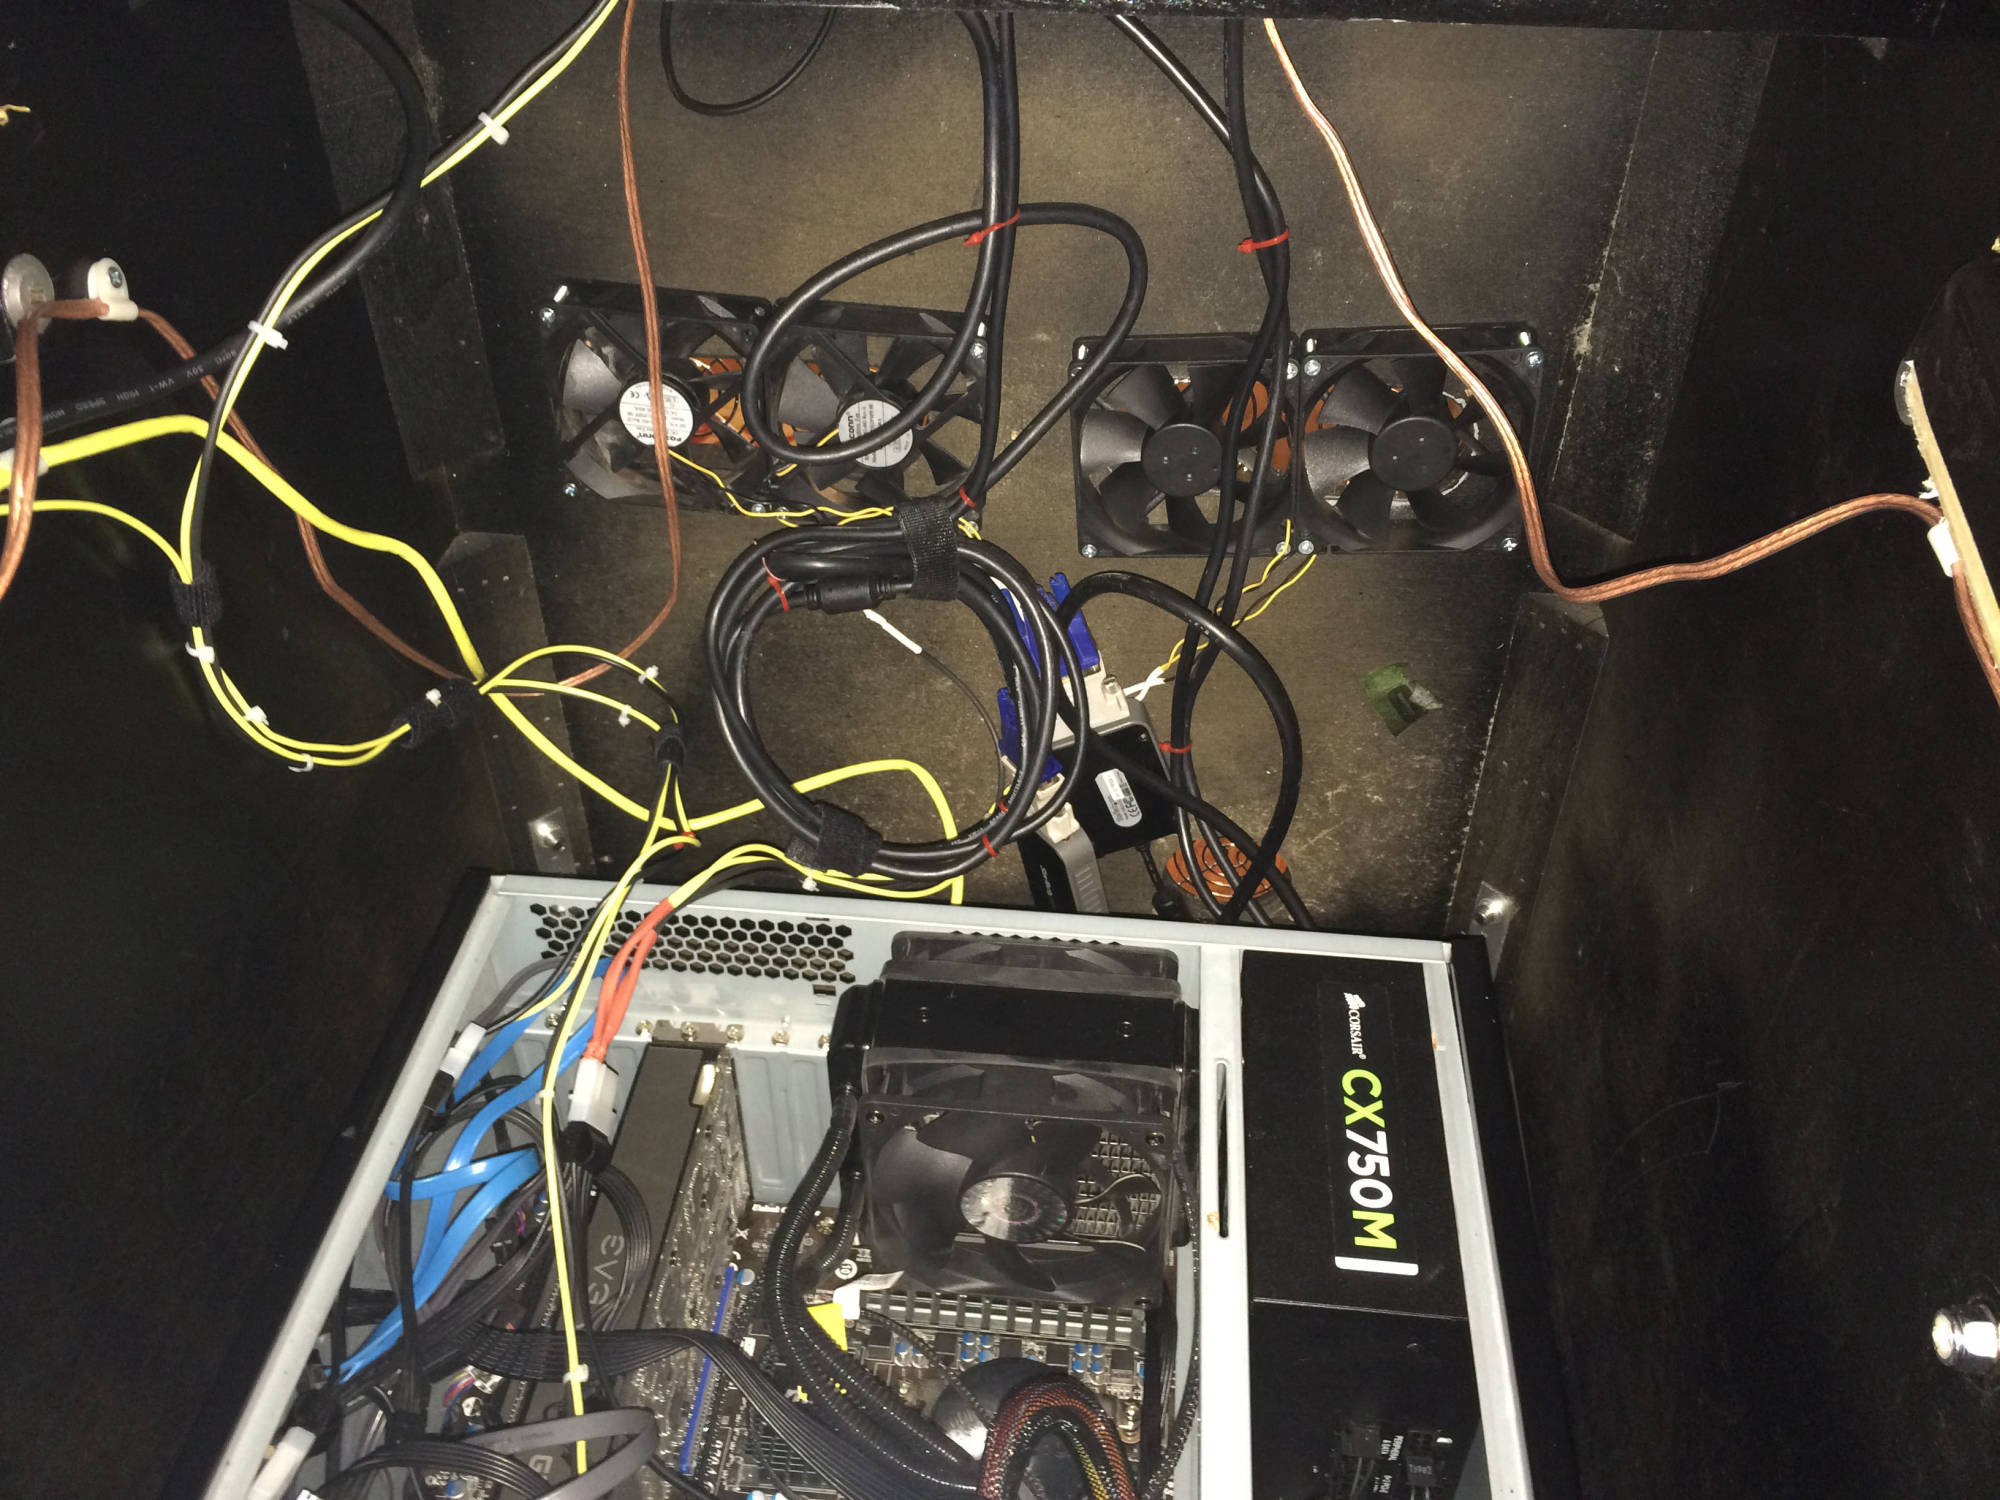
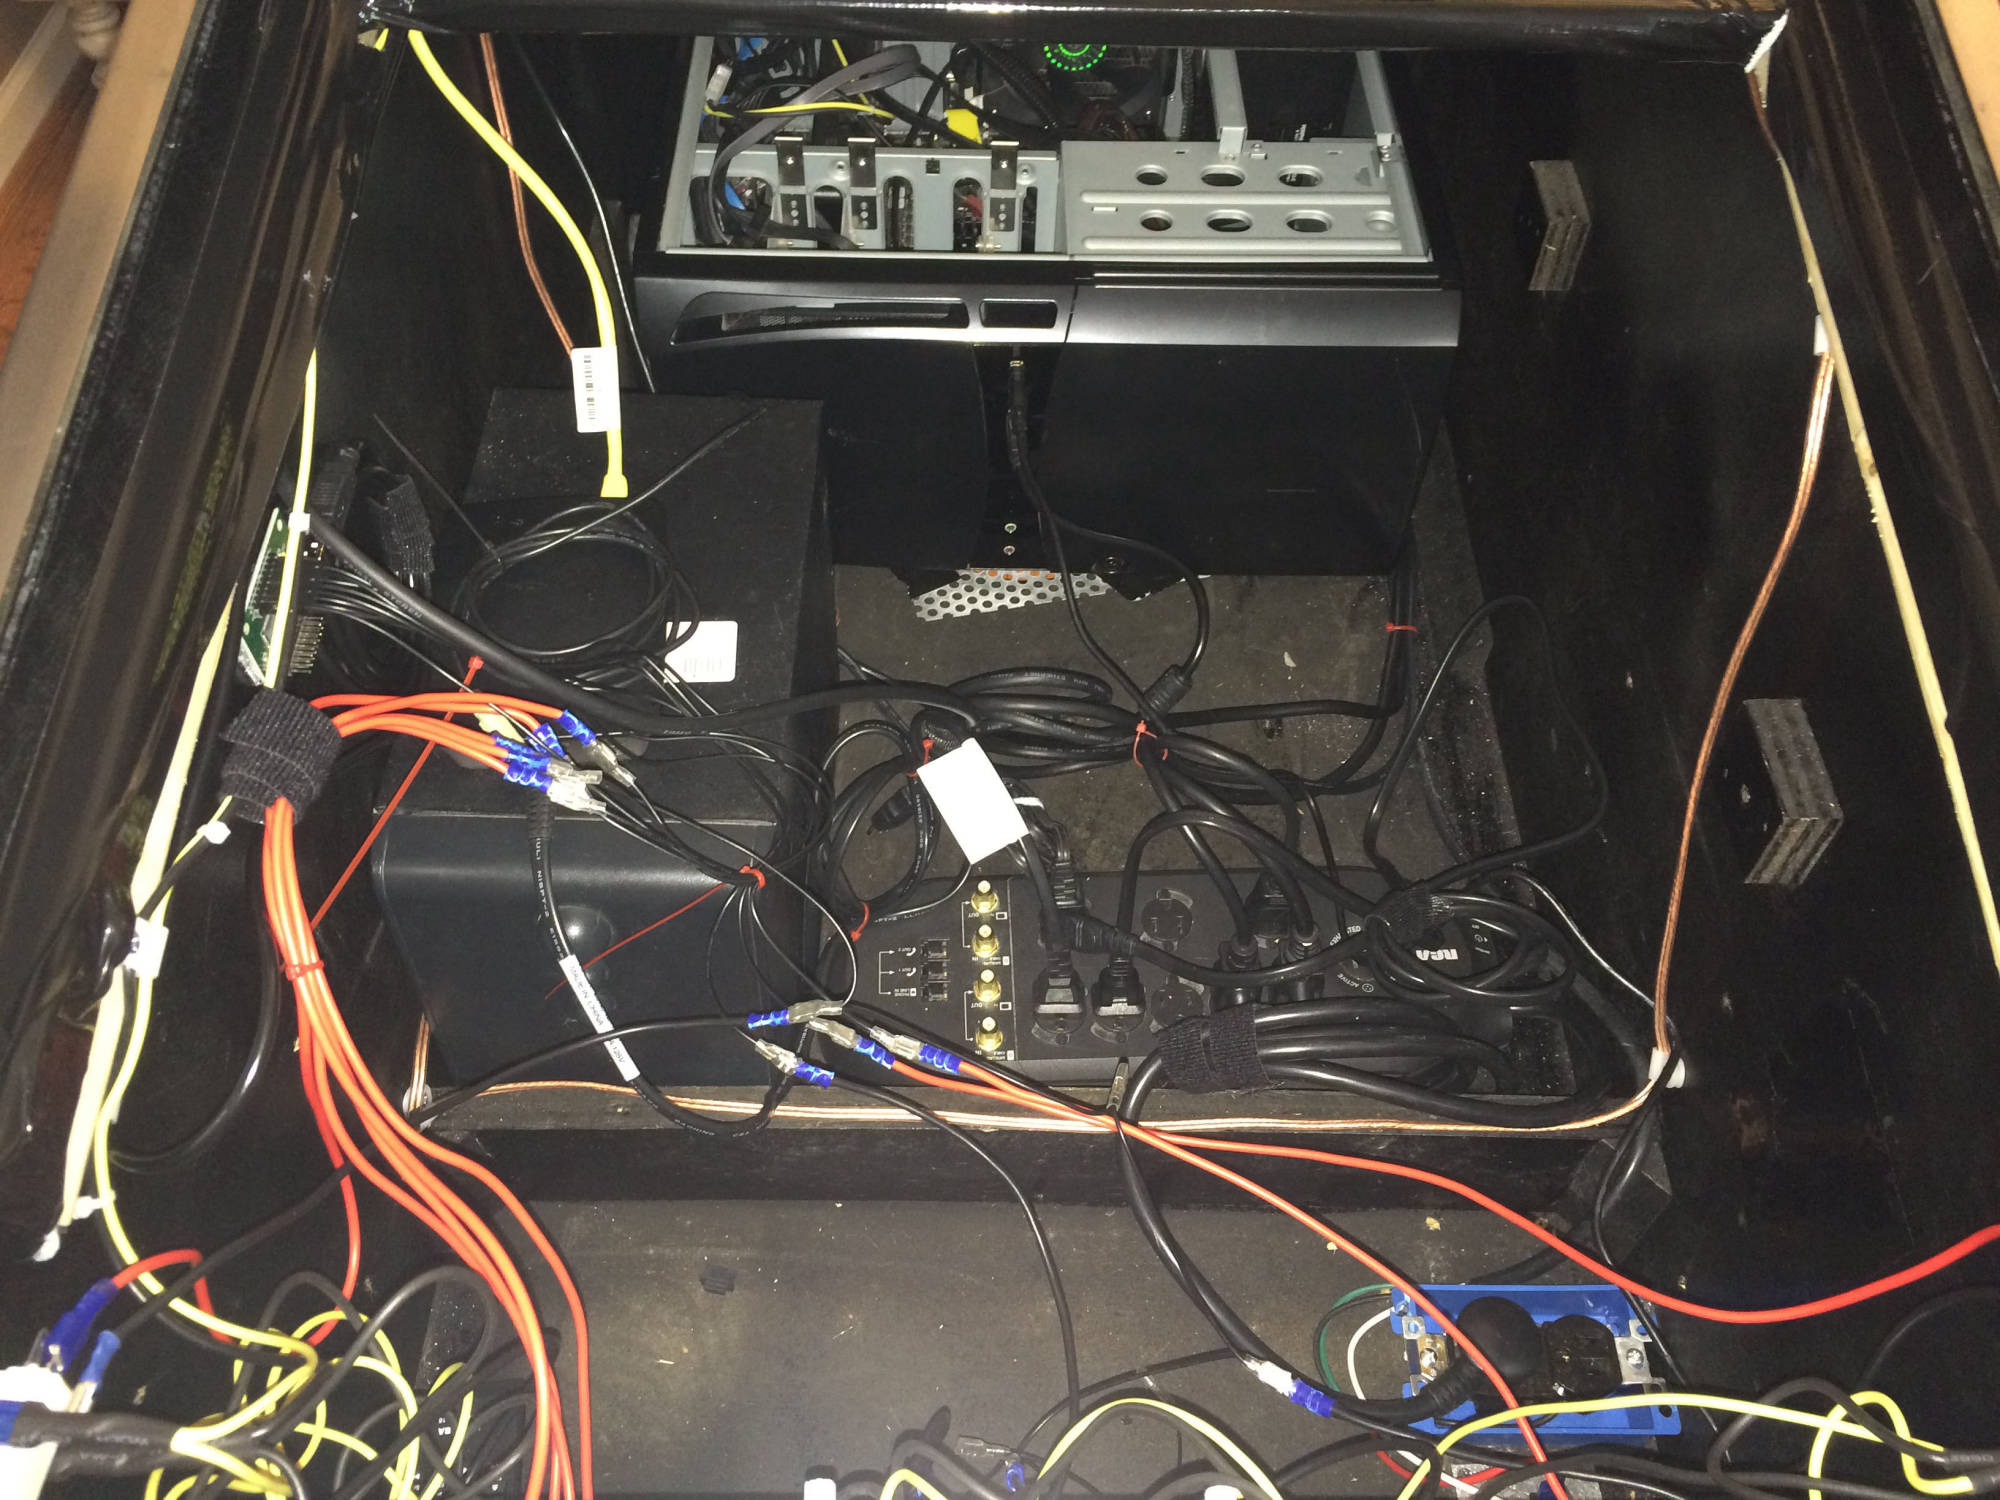
Don't let the date fool you. I stopped updating my site long before I finished the project. I will try and replicate the process and show pictures. So as you can see after I completeley removed all wiring, grills, I painted the main body and put the legs on. As you can see from the first picture below. I then felt good enough to leave that as it was while I worked on backglass area. I took great care since this was going to have alot of heat generated in here. I placed the painted metal gril back on and also cut holes for two fans. I then wired and mounted them in the back area. These are standard recycled PC fans ($0.0). I do suggest that you wire and heat shrink them for better connections. I also purchased molex connectors to make moving, taking apart, ect. easier as well as hooking to a standard power supply easier. You will also notice the fan covers on the back to keep fingers and other objects from preventing fan operation. (also please ignore the dogs they are for moral support) 


UPDATE 4
Ok, so this was the next day or so after I finished the above. What you see below is how the backglass looked before mounting on the body. In the first picture I used colored lines to show a few things.
1. Green - the out line of where the 27" monitor/tv is.
2. White - the outline of where the speakers and the DMD cutout is.
3. Red - the 15" monitor I used for the DMD.
Now I did not provide mesurements here because depending on your build and if you use a real DMD will determine what size screen, ect you can use. This will also determine what size plexiglass you will need to enclose your backglass.


UPDATE 5
Afew weeks went by because of work, so there was little no not real progress on anything after the backglass was complete. When I did start back I finished putting the body back together. This meant putting the metal rails back on the side. When I removed them they used very strong double sided tape. I used the same to reattach. I then added the buttons to the front and sides. I decided to go a little more modern on my design so I used LED lights for the buttons. I used standard HAPP style buttons and switches. Cost and where you buy them varry, but I suggest www.twistedquarter.com   As you can see below. I have mounted the rails on the side, lock bar. internal wooden support for the TV, and connected the buttons and coin-op door.  Also not visiable is the same setup as in the backglass.  I have two fans one for push one for pull, for air flow.  It may seem stupid, but since I had never done any electrical wiring before I decided to use an old PC to insure I did not damage my good machine testing. All was well I didn't die or catch anything on fire. Just as an FYI, I did have to remove the TV bezel fron the TV for it to fit in the cabinate.


UPDATE 6
OK, with the testing done, I wanted to post some picture of the wiring. Yes, I know it doesn't look great, but considering this is my first project and it was all custom wiring I think I did a good job. Lots of lessons learned but over all good enough. I used color coded wire for voltage, and so forth. I added a internal outlet connected to the standard power connection that goes to the wall. That is connected the power switch under the bottom like on all other pinball machines. The internal power outlet then connects to a surge protector. This gave me more power outlets and protection. Can't beat that. I also have a subwoofer and wireless card in the system. The subwoofer gives the feedback you expect from the mechanical flippers and sounds good too. 


UPDATE 7
This should be the last entry on the build. I may at a later time add the accual software setup as well, but for now I will just show the final results. 

Designed with Mobirise ‌

Free Website Maker