Arcade Rebuild / Mame Cab
UPDATE 1
I purchased an old PAC-MAN cabinet that had been converted to PAC-MAN Plus. I bought it off Craig’s list for $100.00. The cabinet was listed as unknown condition as far as functionality. Below are the original pics when it came in.


Update 2
This thing has sat in my garage for a few weeks as I did not want to rush the project too much. I learned a lot from my pinball experience and wanted to do a few things differently. I started to remove the old components and start prep work. Below are a few pictures. As you can see the back glass looked good until I removed it. It flaked off badly. No way to repair that. The monitor was bunt in, the coin door held together with tape, and the main board corroded so badly. The power supply was intact and worked, but would not be needed in my new build.


UPDATE 3
After removing the hardware and competely gutting the machine so that all that was left was a shell, I started body work. Again, learning as I worked. I watched several videos of similar repair done. Many suggested Bondo because it was fast and easy to work with. I agree. It works very well and I suggest it over wood putty. As you can see there was a lot of Bondo. The reason was the corners and some of the sides were badly damaged. If you look at the Bad Left Corner pictire you can see wher the T-Molding is gone, and someone colored the wood with a marker. Not only that I would say over 1/4 of an inch of wood was broken off that side. I was able to make a small tempate from card board and match the other side. I filled with Bondo, sanded and now you cant tell it was damaged.


Update 4
Now that the Bondo has been sanded and all the major and minor problems fixed. I started the painting process. Let me say this was a big mistake on the outside and front. The reason behind this is that I eventually went with vinyl and I would have had a smoother surface to work with if I had not painted it. None the less I did in fact paint inside and out. Here are the results below. You may ask why paint if you put on vinyl. Well I didn't know I was going to at first :) I also attached new feet as the old ones were toast.  Let me say I also tried to color match the original. I took the back to Lowes and this is the color that came out.  At first I was impress, but after I thought diffrently.


Update 5

Now that the major body parts are finished I started working on the minor stuff. I ordred a new control pannel from www.twistedquarter.com and the overlay from another source. I would suggest however, you order both from the same place. My control panel did not exactly line up with the overlay. This made buttons and controls harder to mount without issues. None the less I did get it put on. The second issue was the poor condition of the coin door. I was able to remove all the parts and clean and paint them. I did not paint the coin mechs. NEVER DO THAT!  I also mounted the lights for the coin amounts and ran new wiring (not shown). While I was at it, I addressed the issue of the marquee and the back glass. I was able to purchase a cleaner, backglass and original PAC-MAN maquee for less than $25 from a local pinball/arcade repair guy. Now after several web searches I found that my best bet to prevent the glass from chipping was to use a clear coat paint and let it dry. I was pleased with over all results. Remember to tape off the middle of your clear glass otherwise you will have a blury middle.


Update 6
Well, As I mentioned before I orginaly wanted to just paint and leave as is. I then wanted it to look more "original". This would mean a stencil ($300) and I would have to paint it, OR a vinyl overlay. New vinyal could cost the same or more. However a guy on ebay had one that was "damaged" described as a cut. I looked at it and for the price, I said why not. I did win the bid and it arrived in a few days. The issue I had was I didn't open it when it arrived to make sure all the vinyal was there. 3 weeks went by before I stared to apply and thats when I relized it was missing the front pannel (where the coin door goes). I contacted the seller and he said someting I would rather not repeat, but I worked a deal out to get the missing part for a little more than cost. Below are the pitures with the vinyl attached.


Update 7
So I am so close to being finished! I started on the inside wiring today, as well as mounting the screen that would replace the old TV/Monitor. I settled on an old 21" from the thrift store that was slightly smaller than the backglass(Bezzel).  After installing some wood to support the monitor and keep it in place it was time to finish the wiring for the controls, coin door, lights, speakers, ect. I will say I use a subwoofer to power the speakers and give more control. I also ran a two outlet power box inside the cab. This way I would plug up a surge protector inside keeing it looking a little better outside. I placed a picture in the boxes below, not great but better than nothing and still less than the original. I also applied the T-Molding and dry fit everything.


Update 8
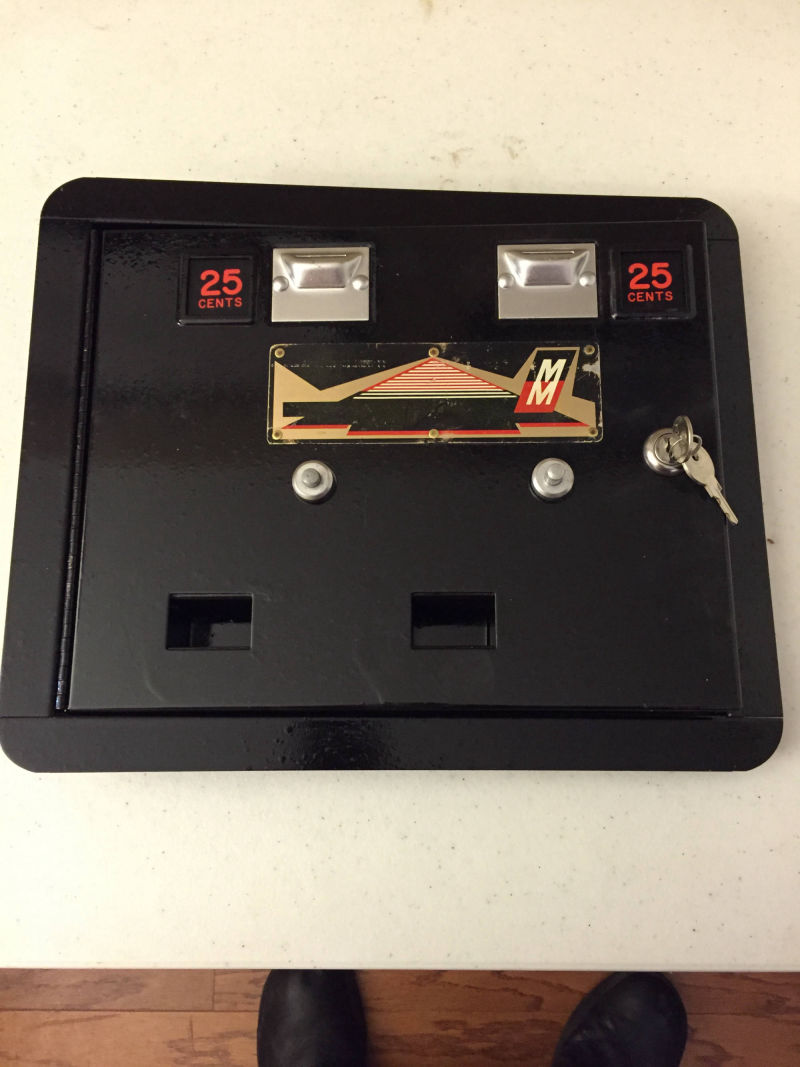
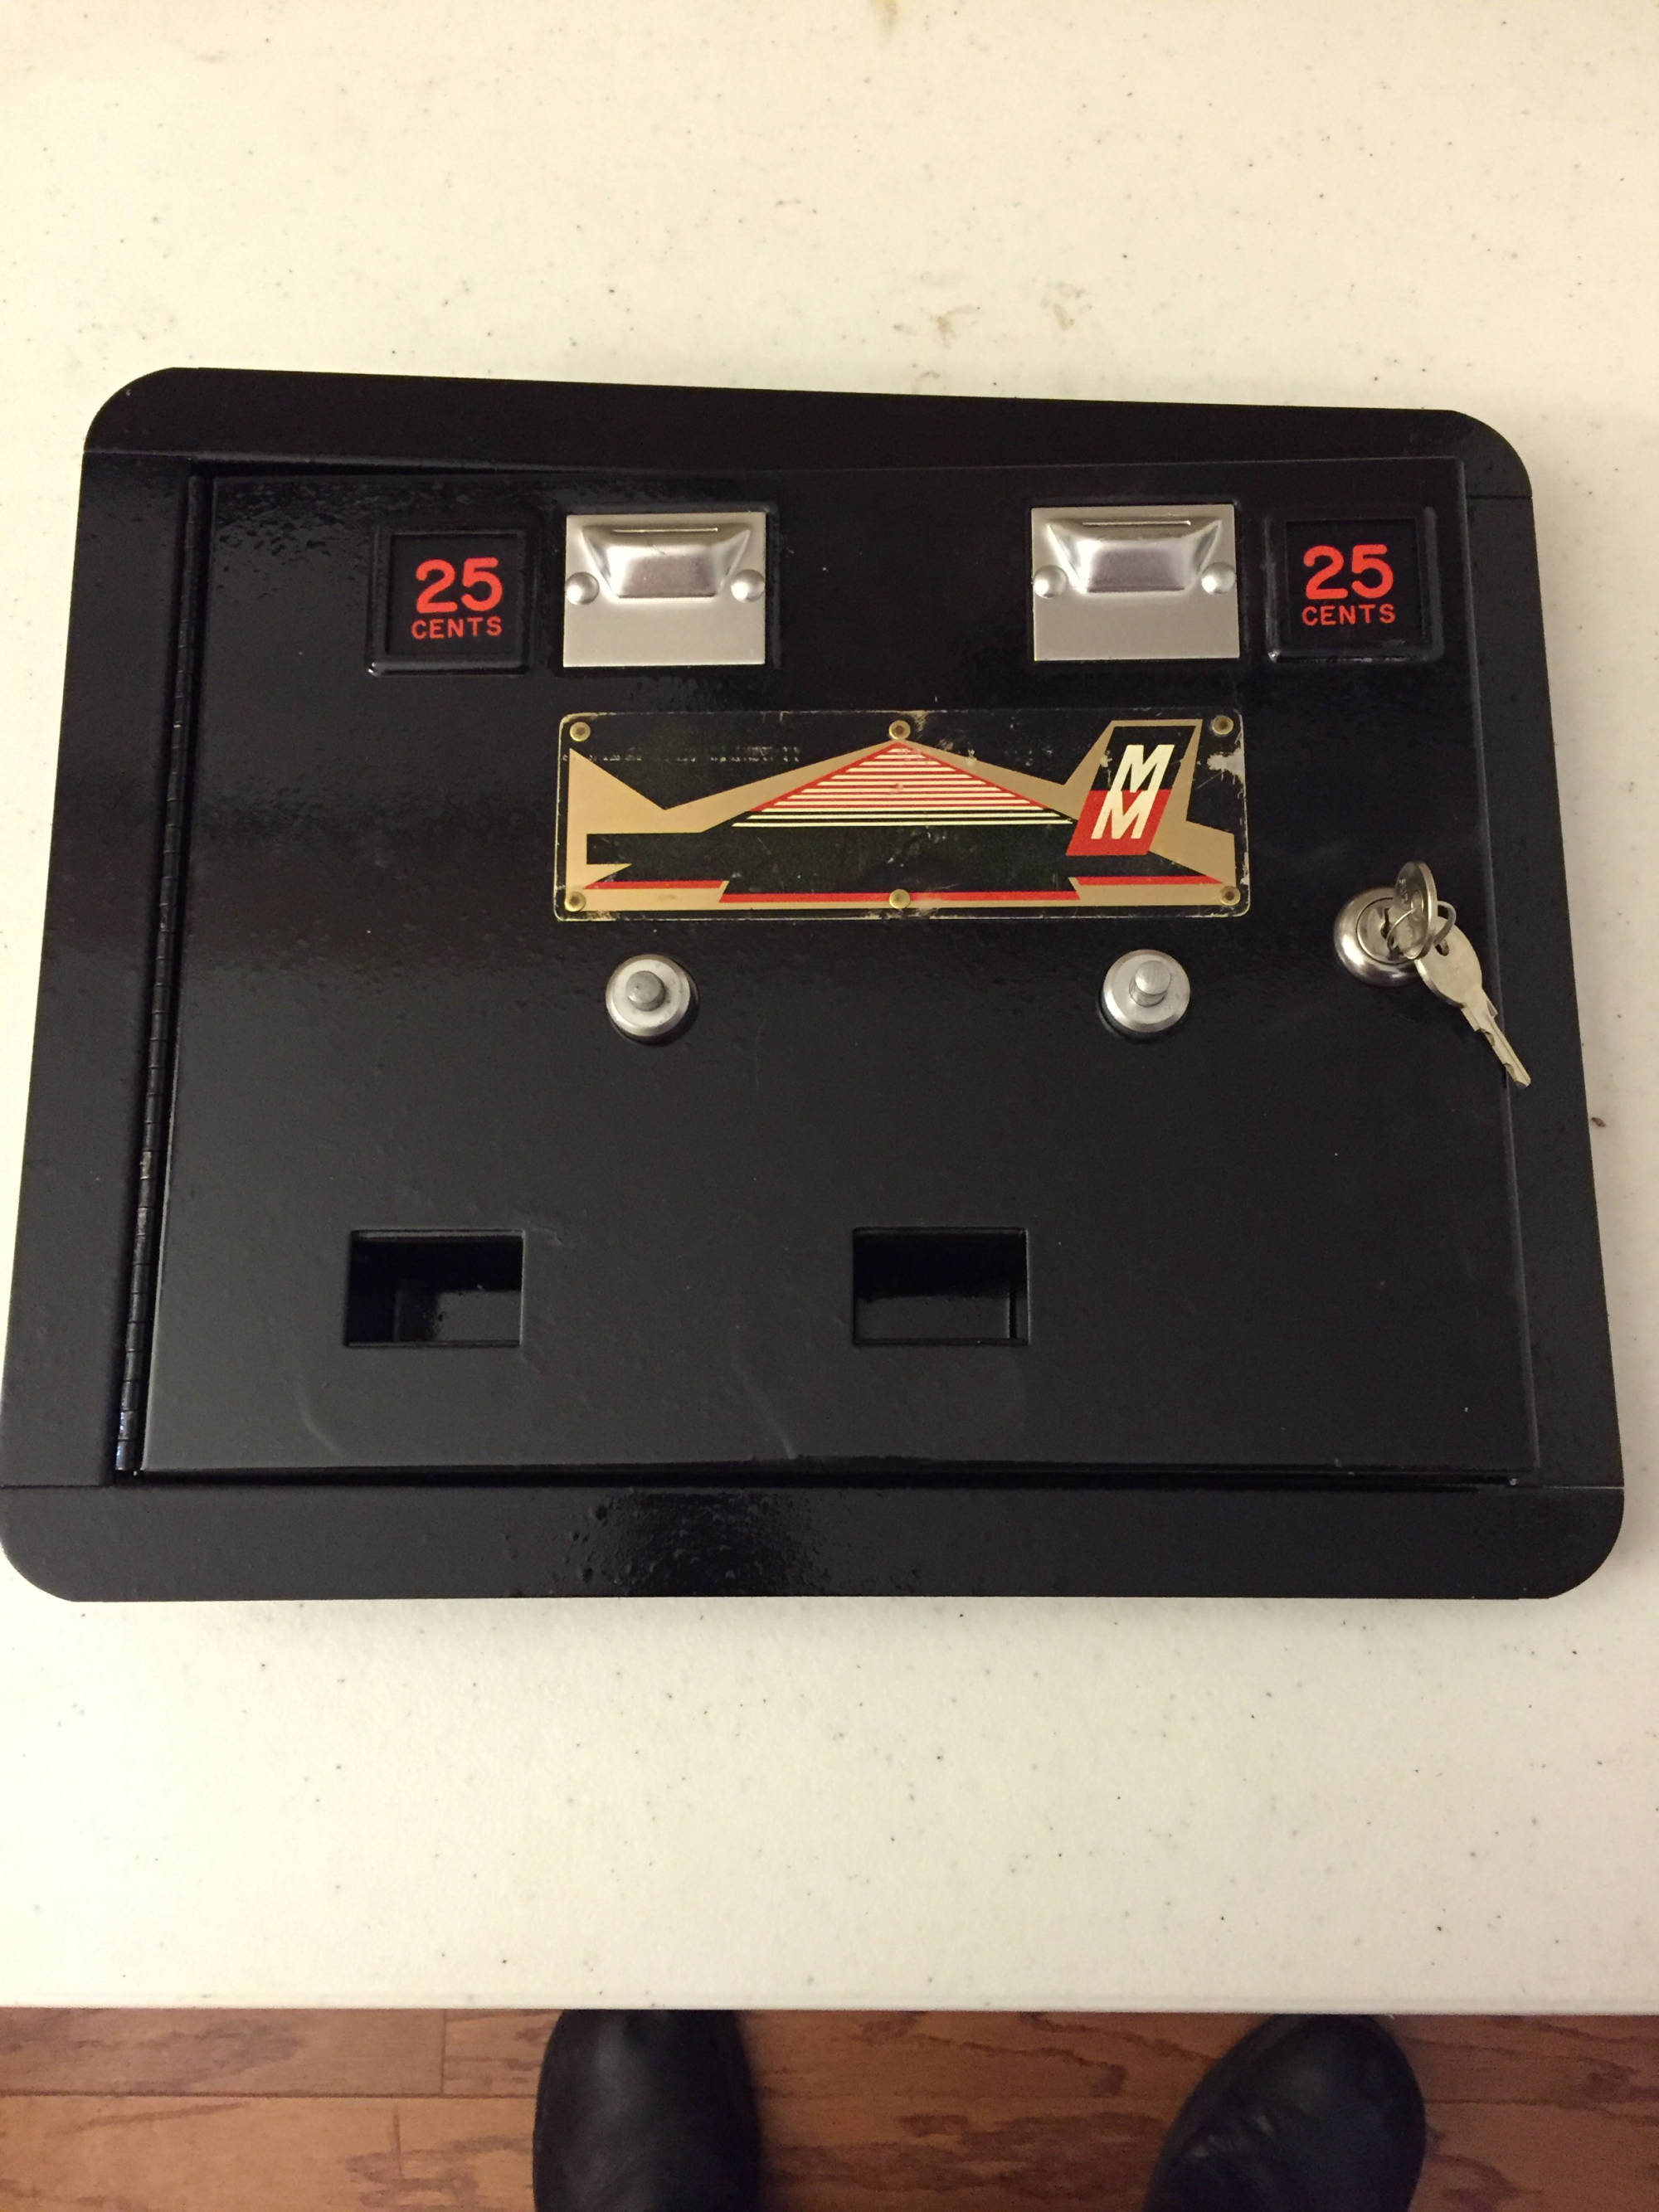
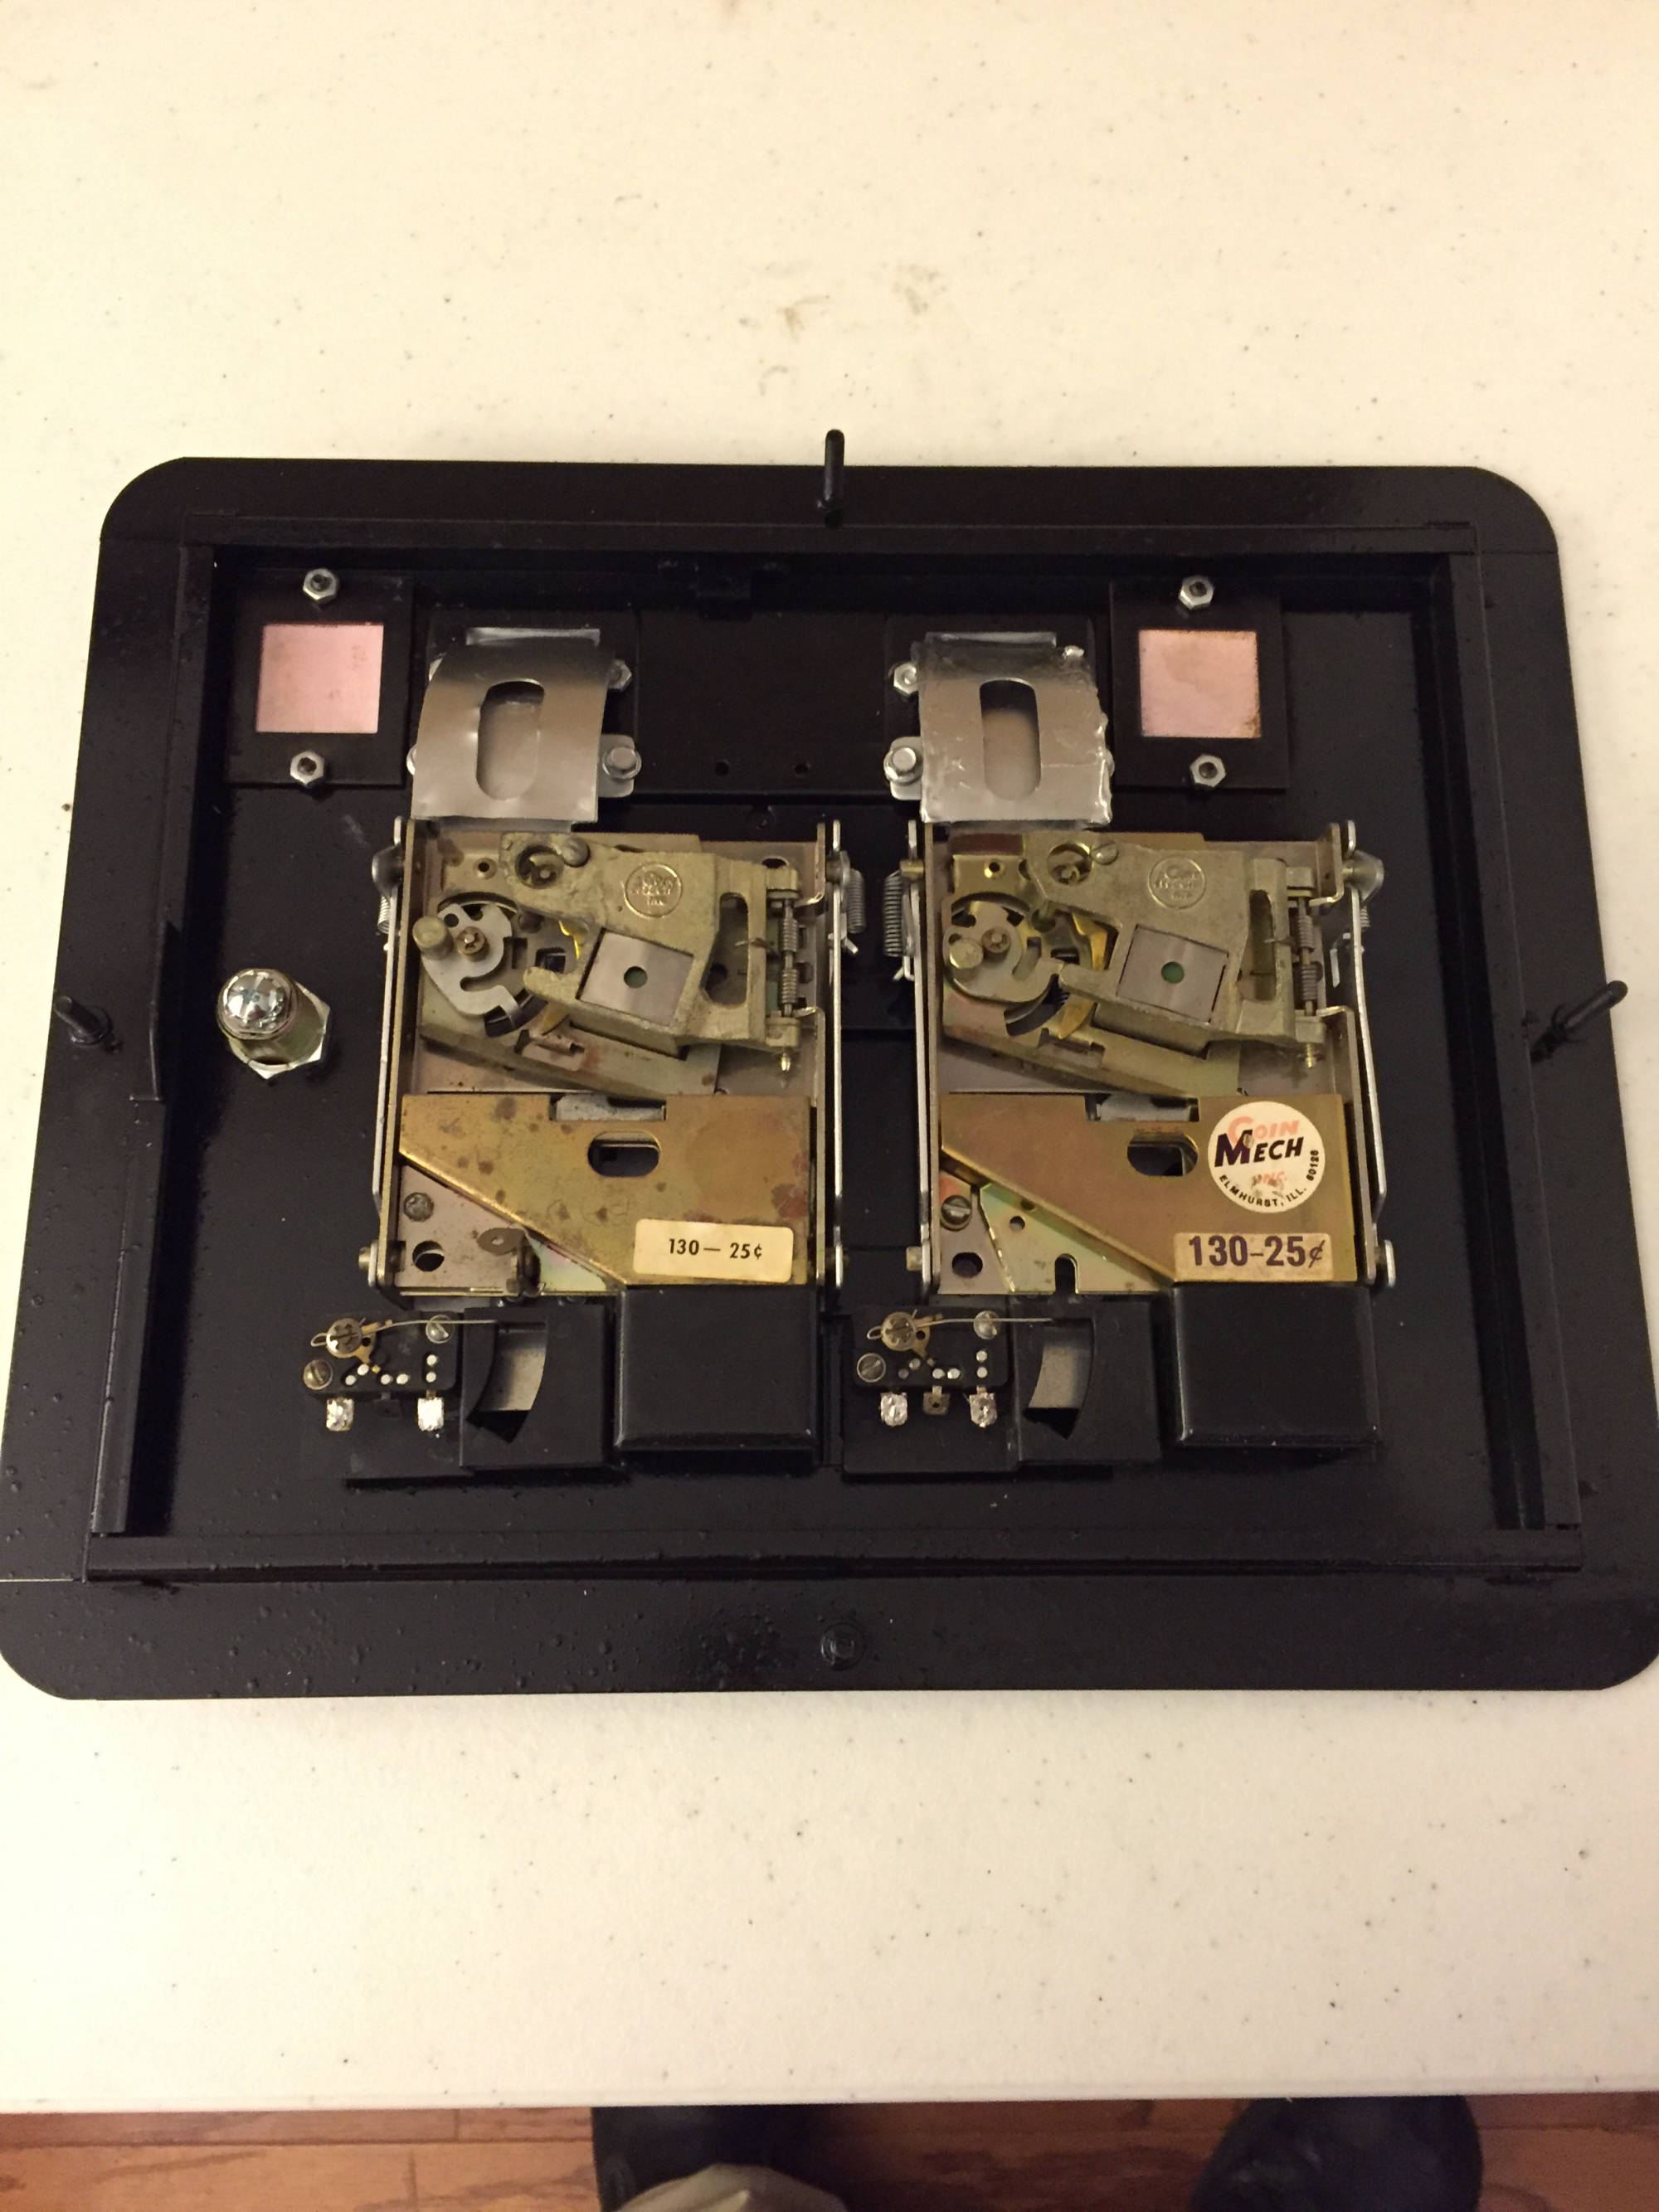
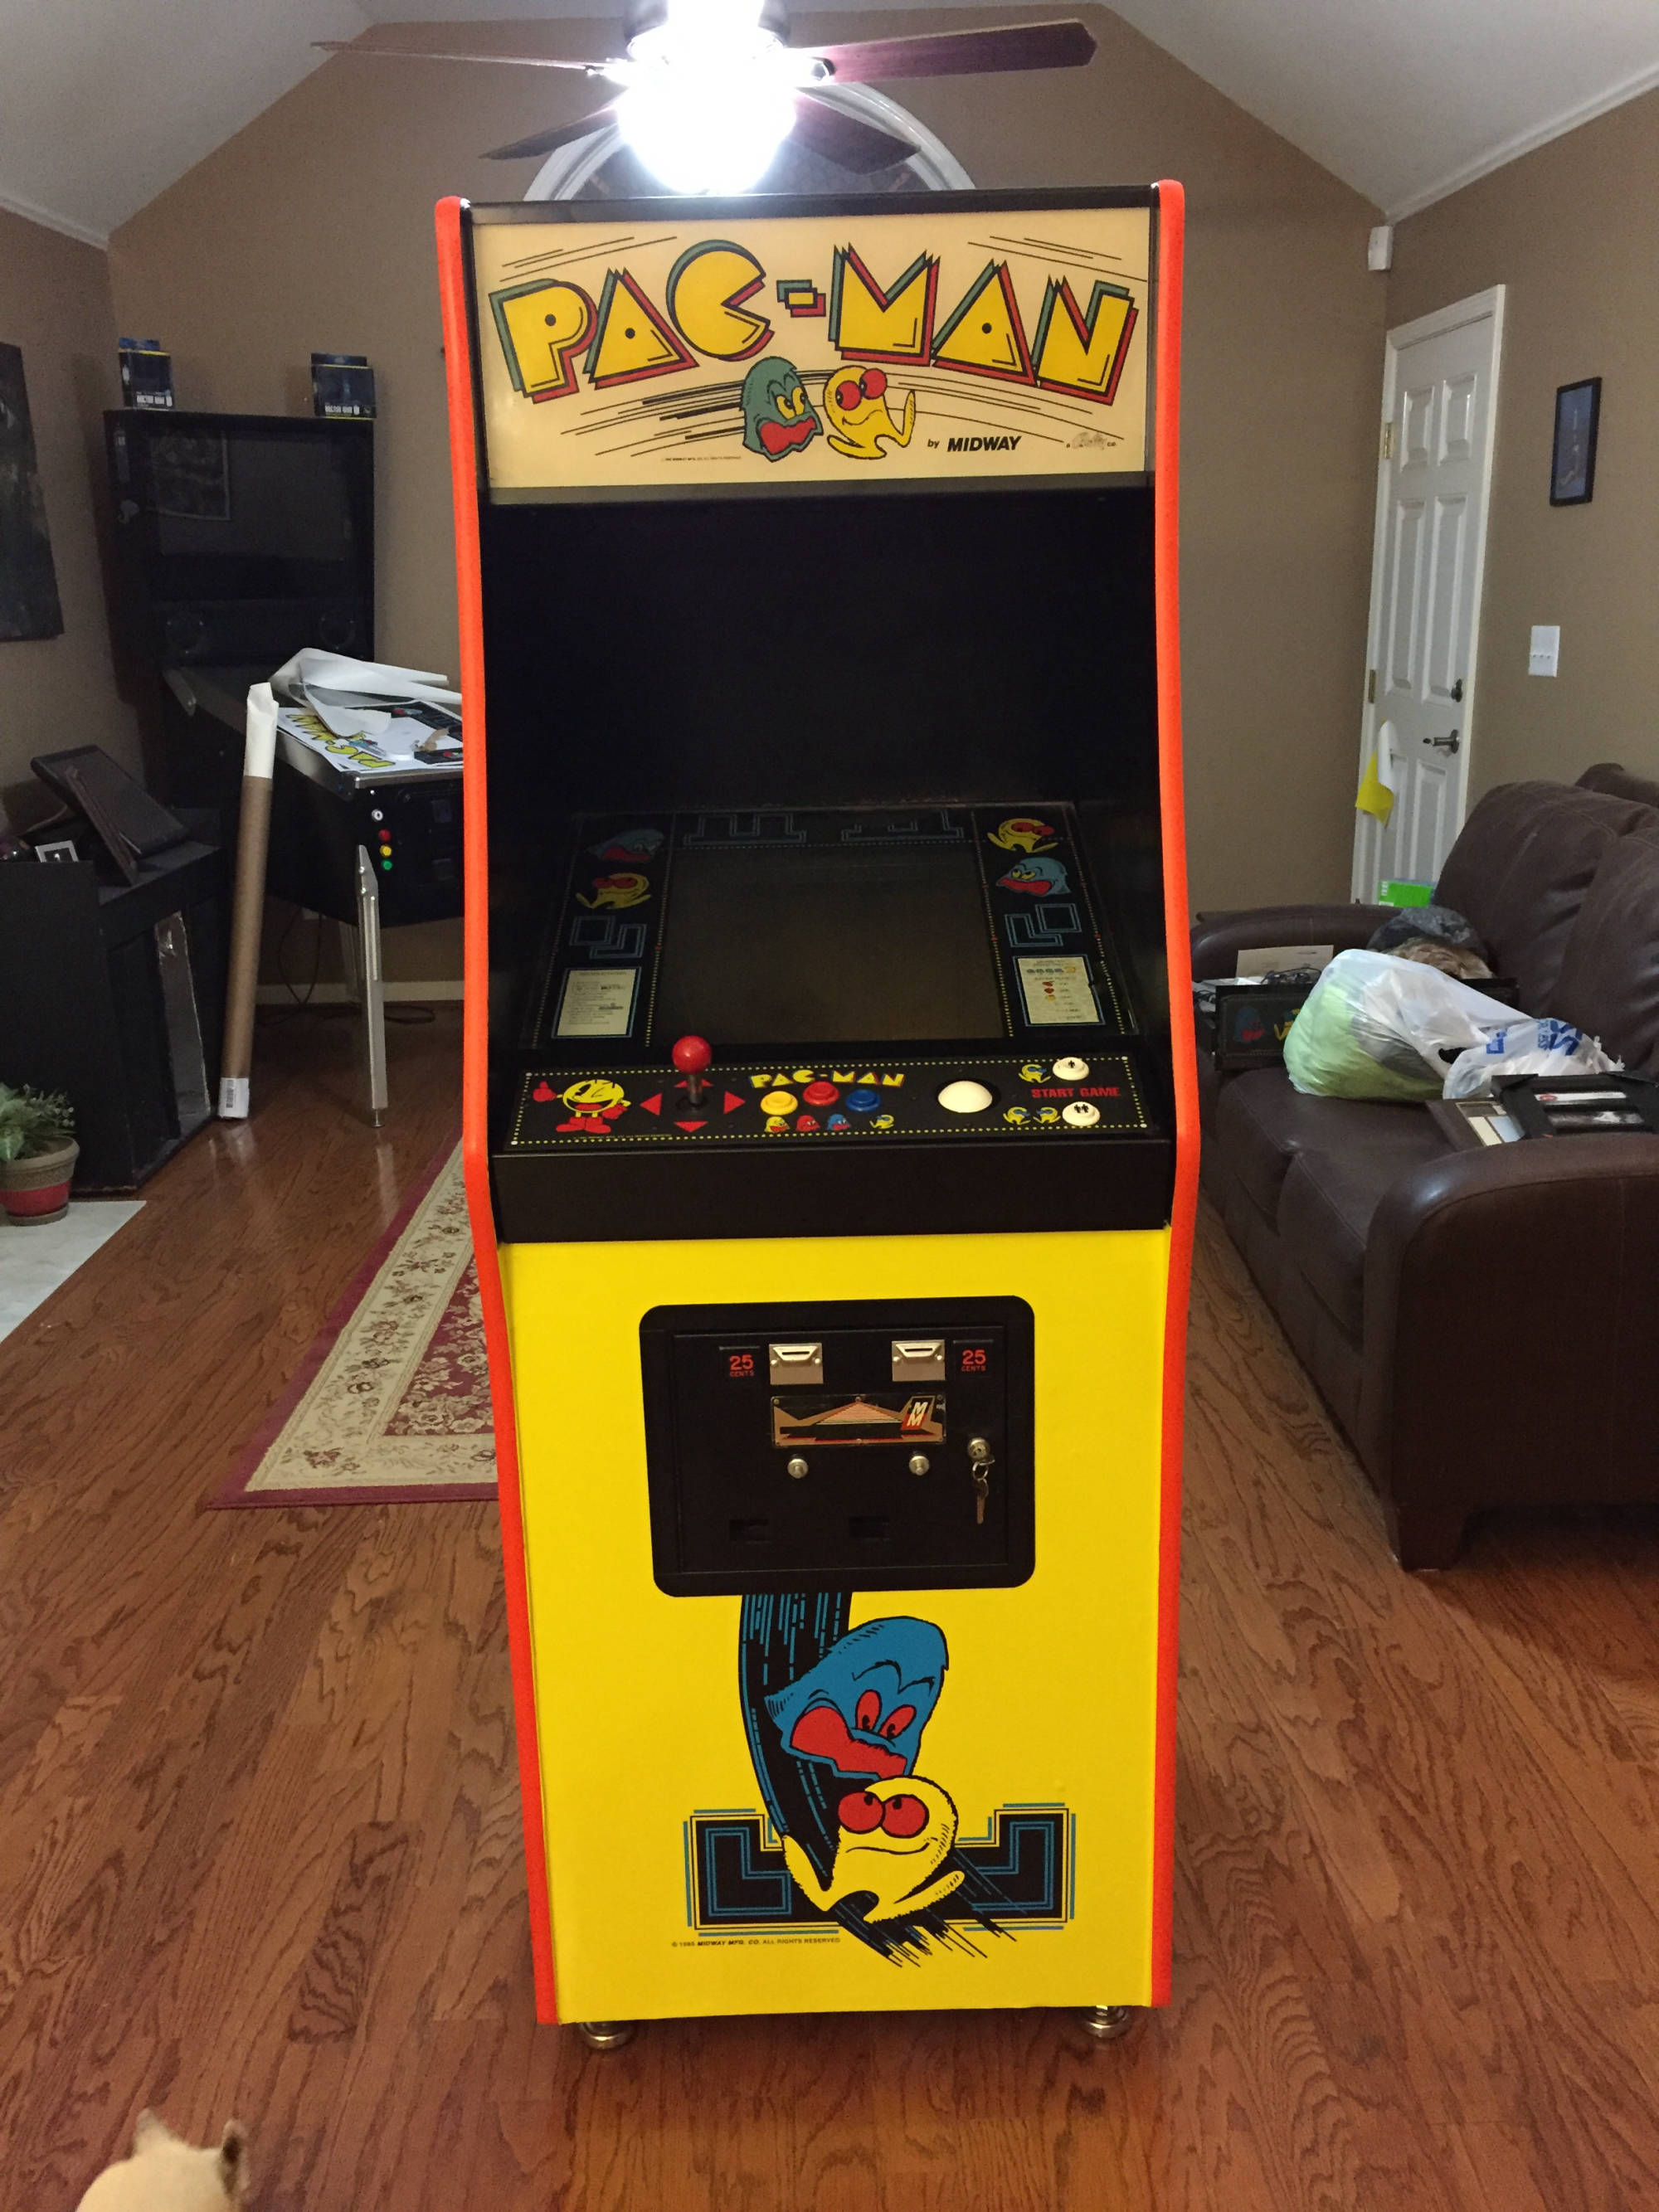
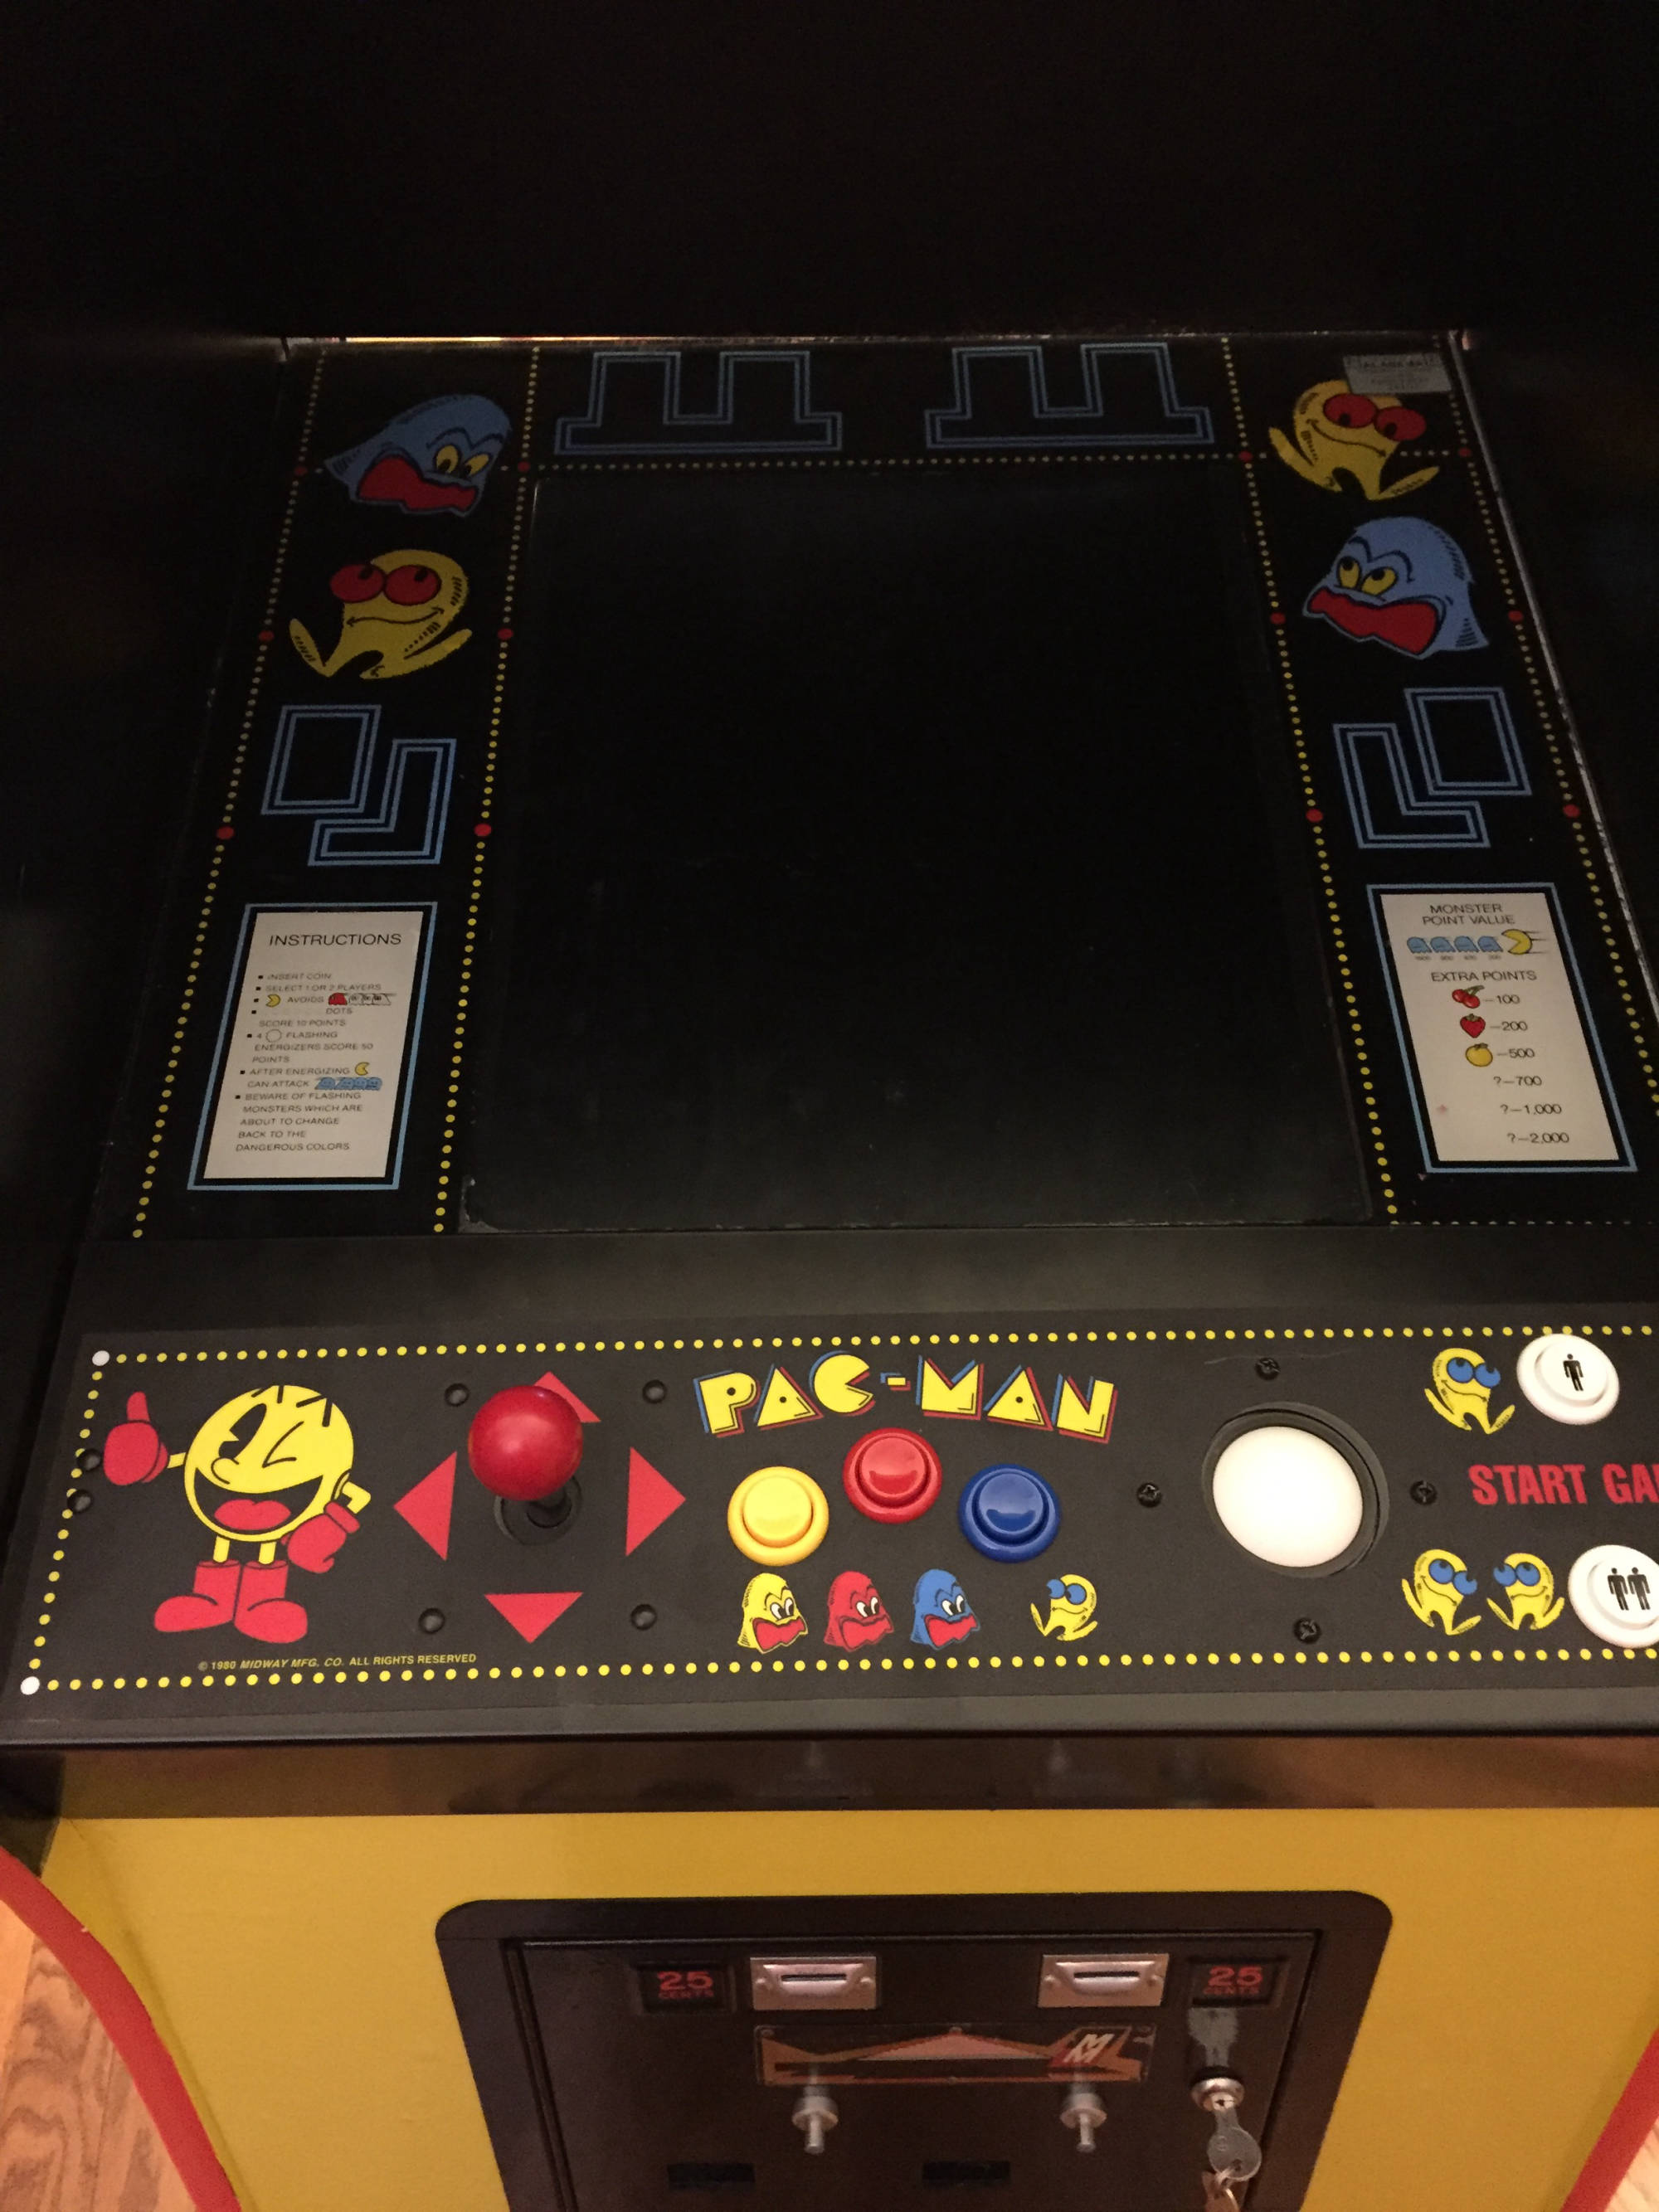
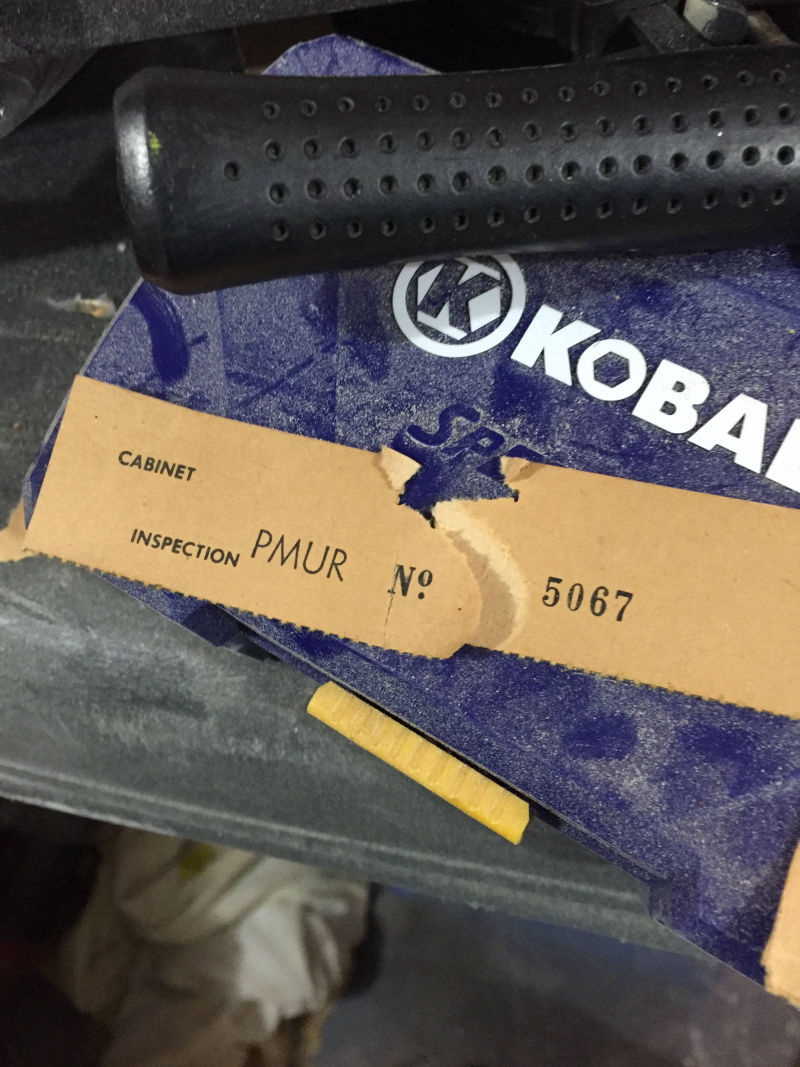
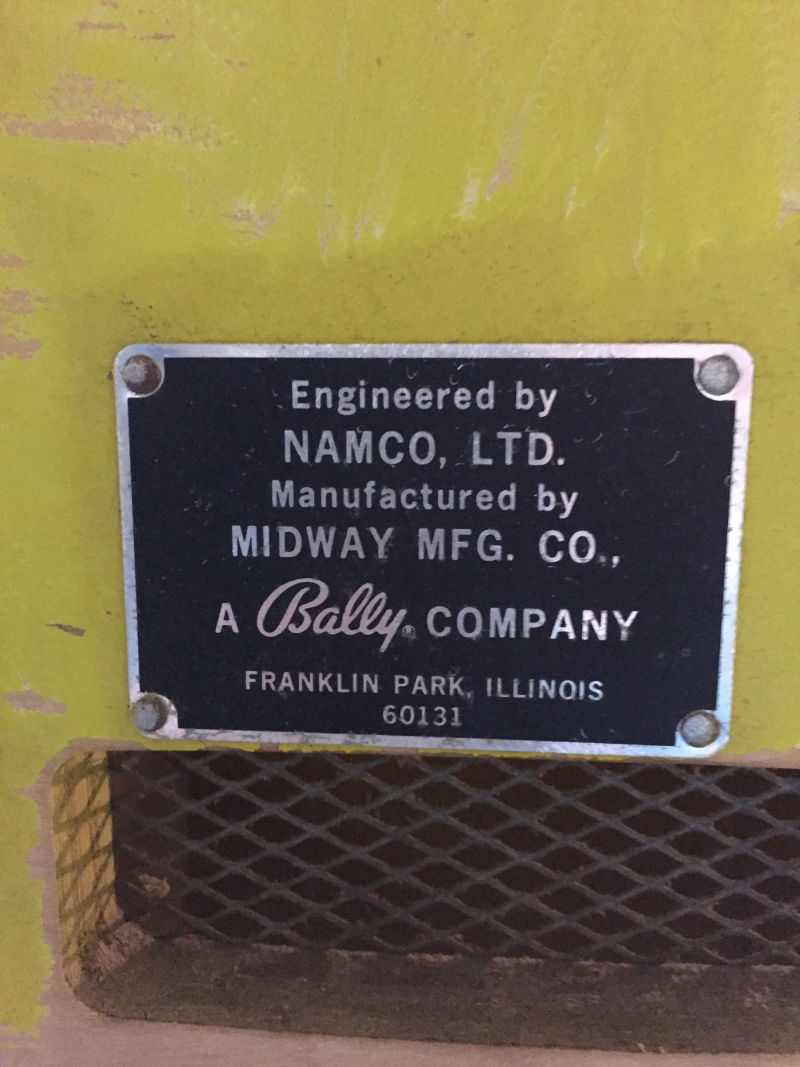
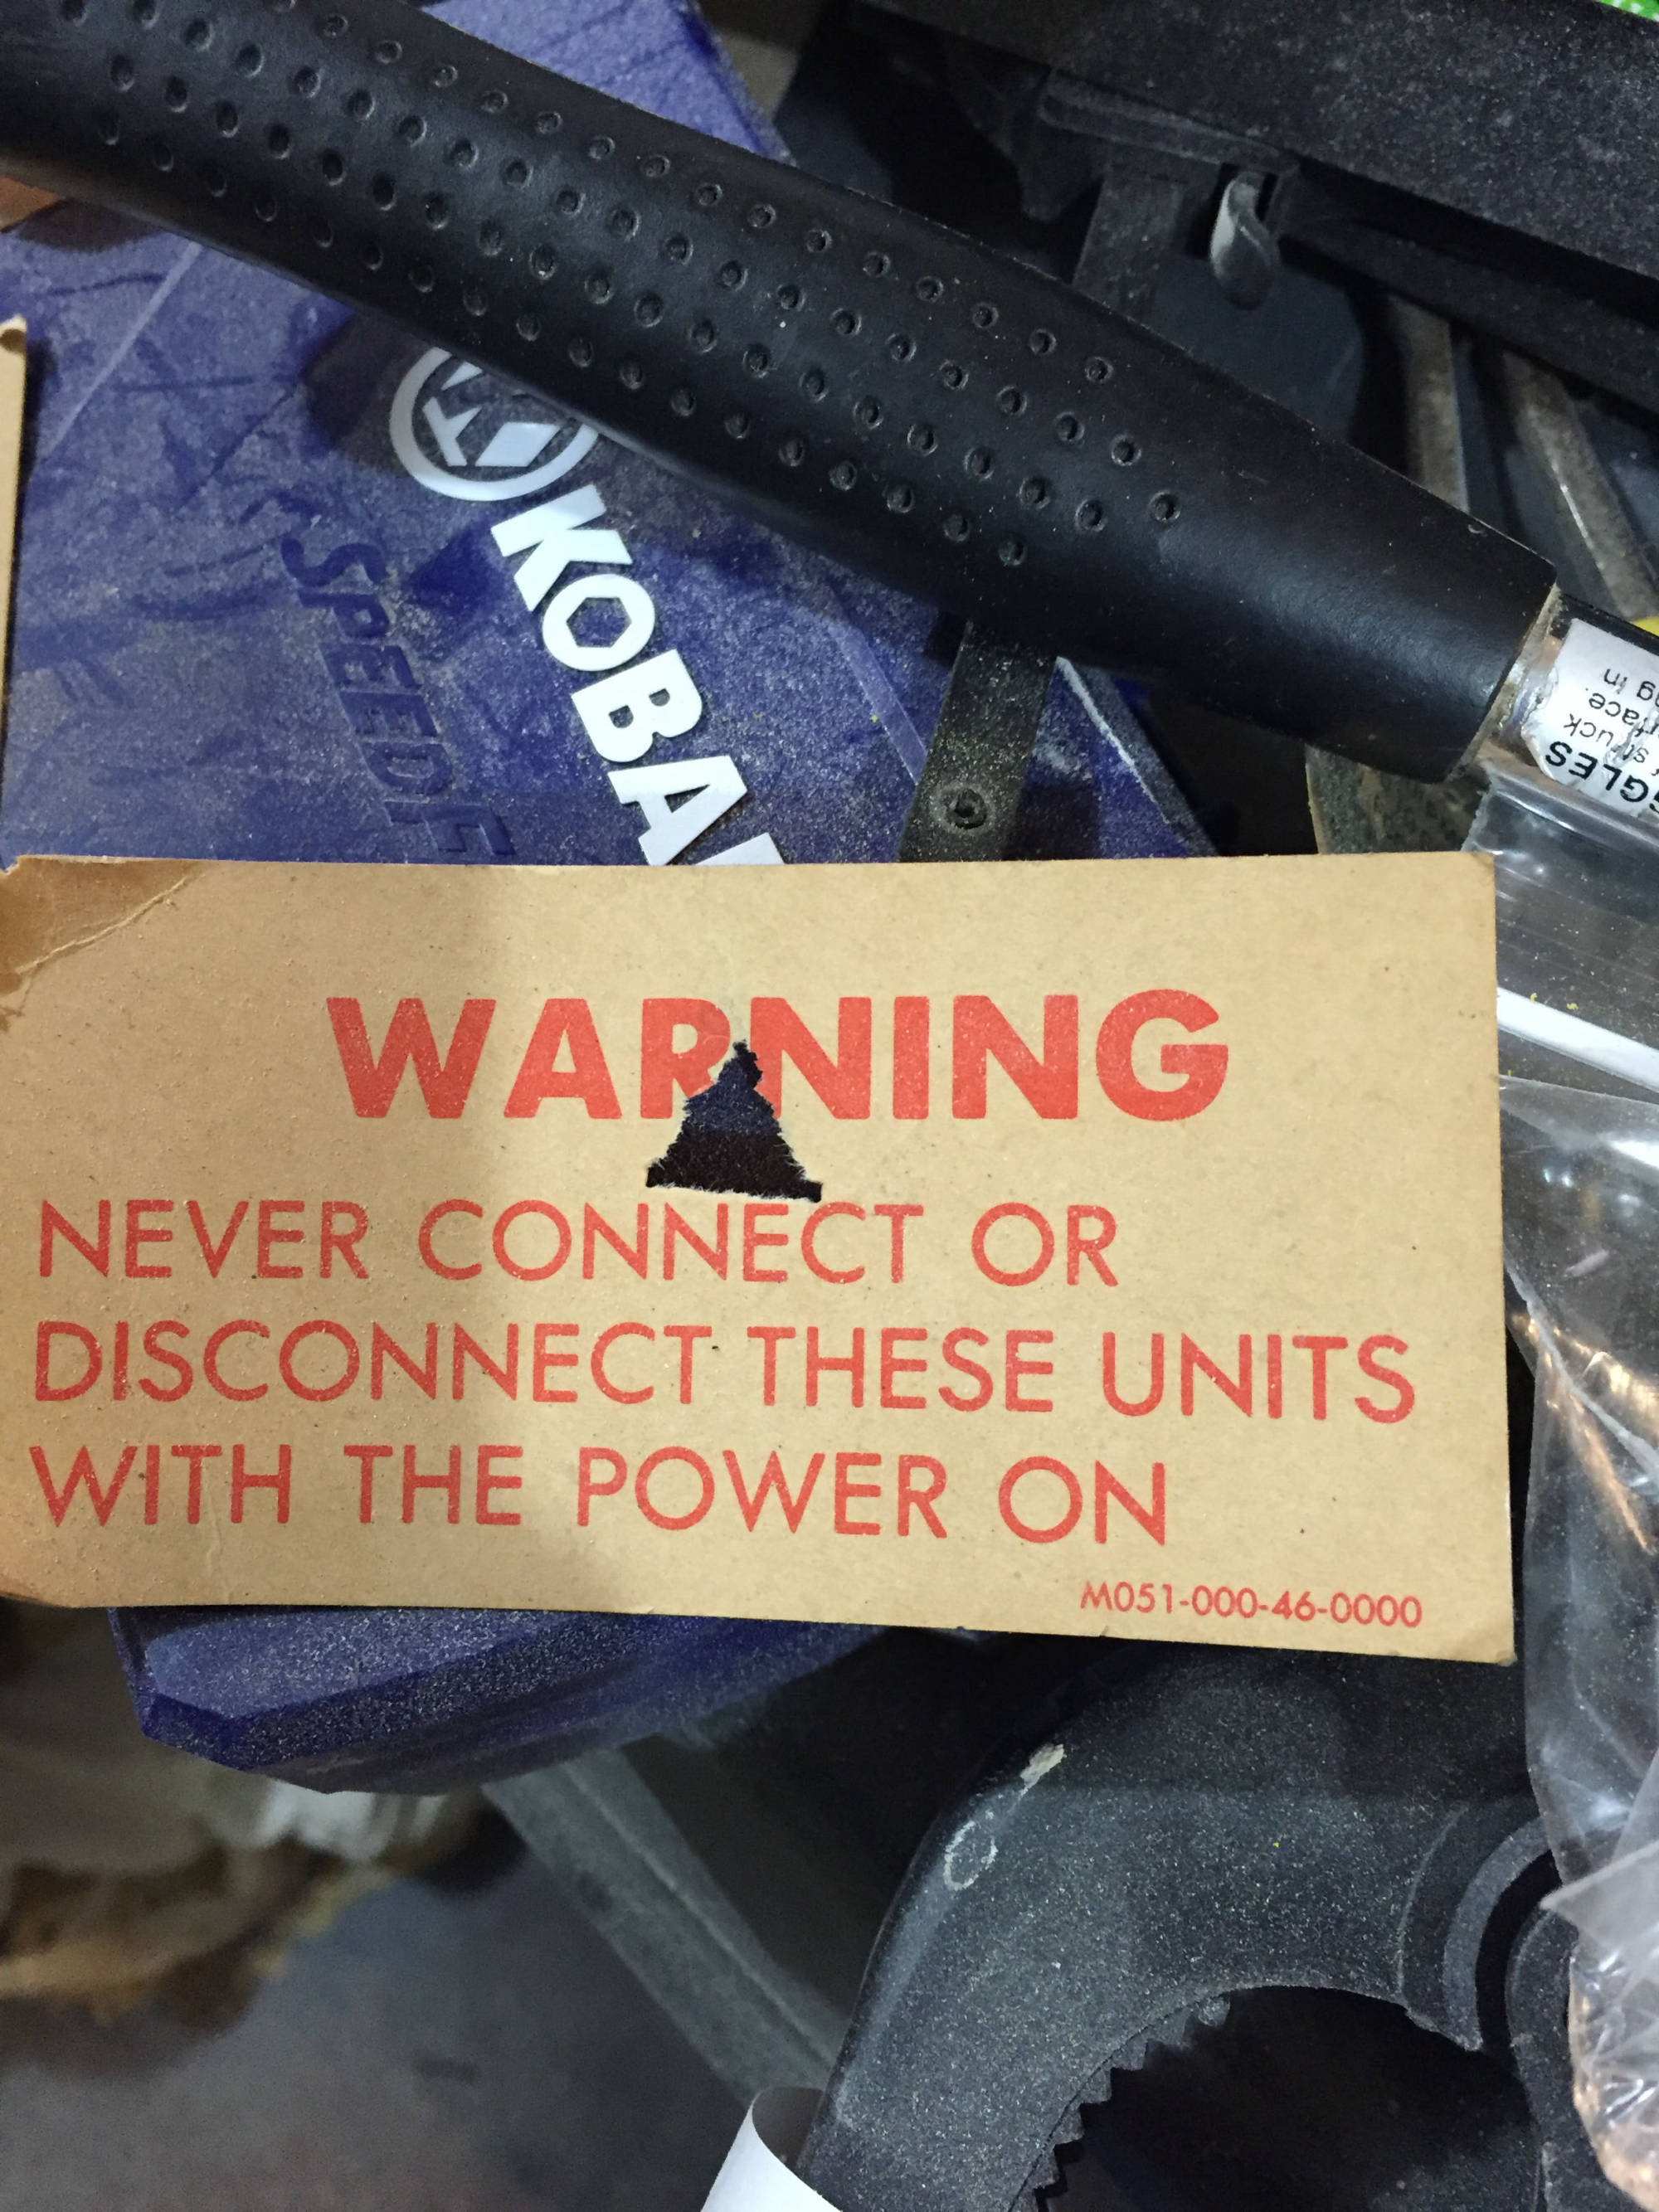
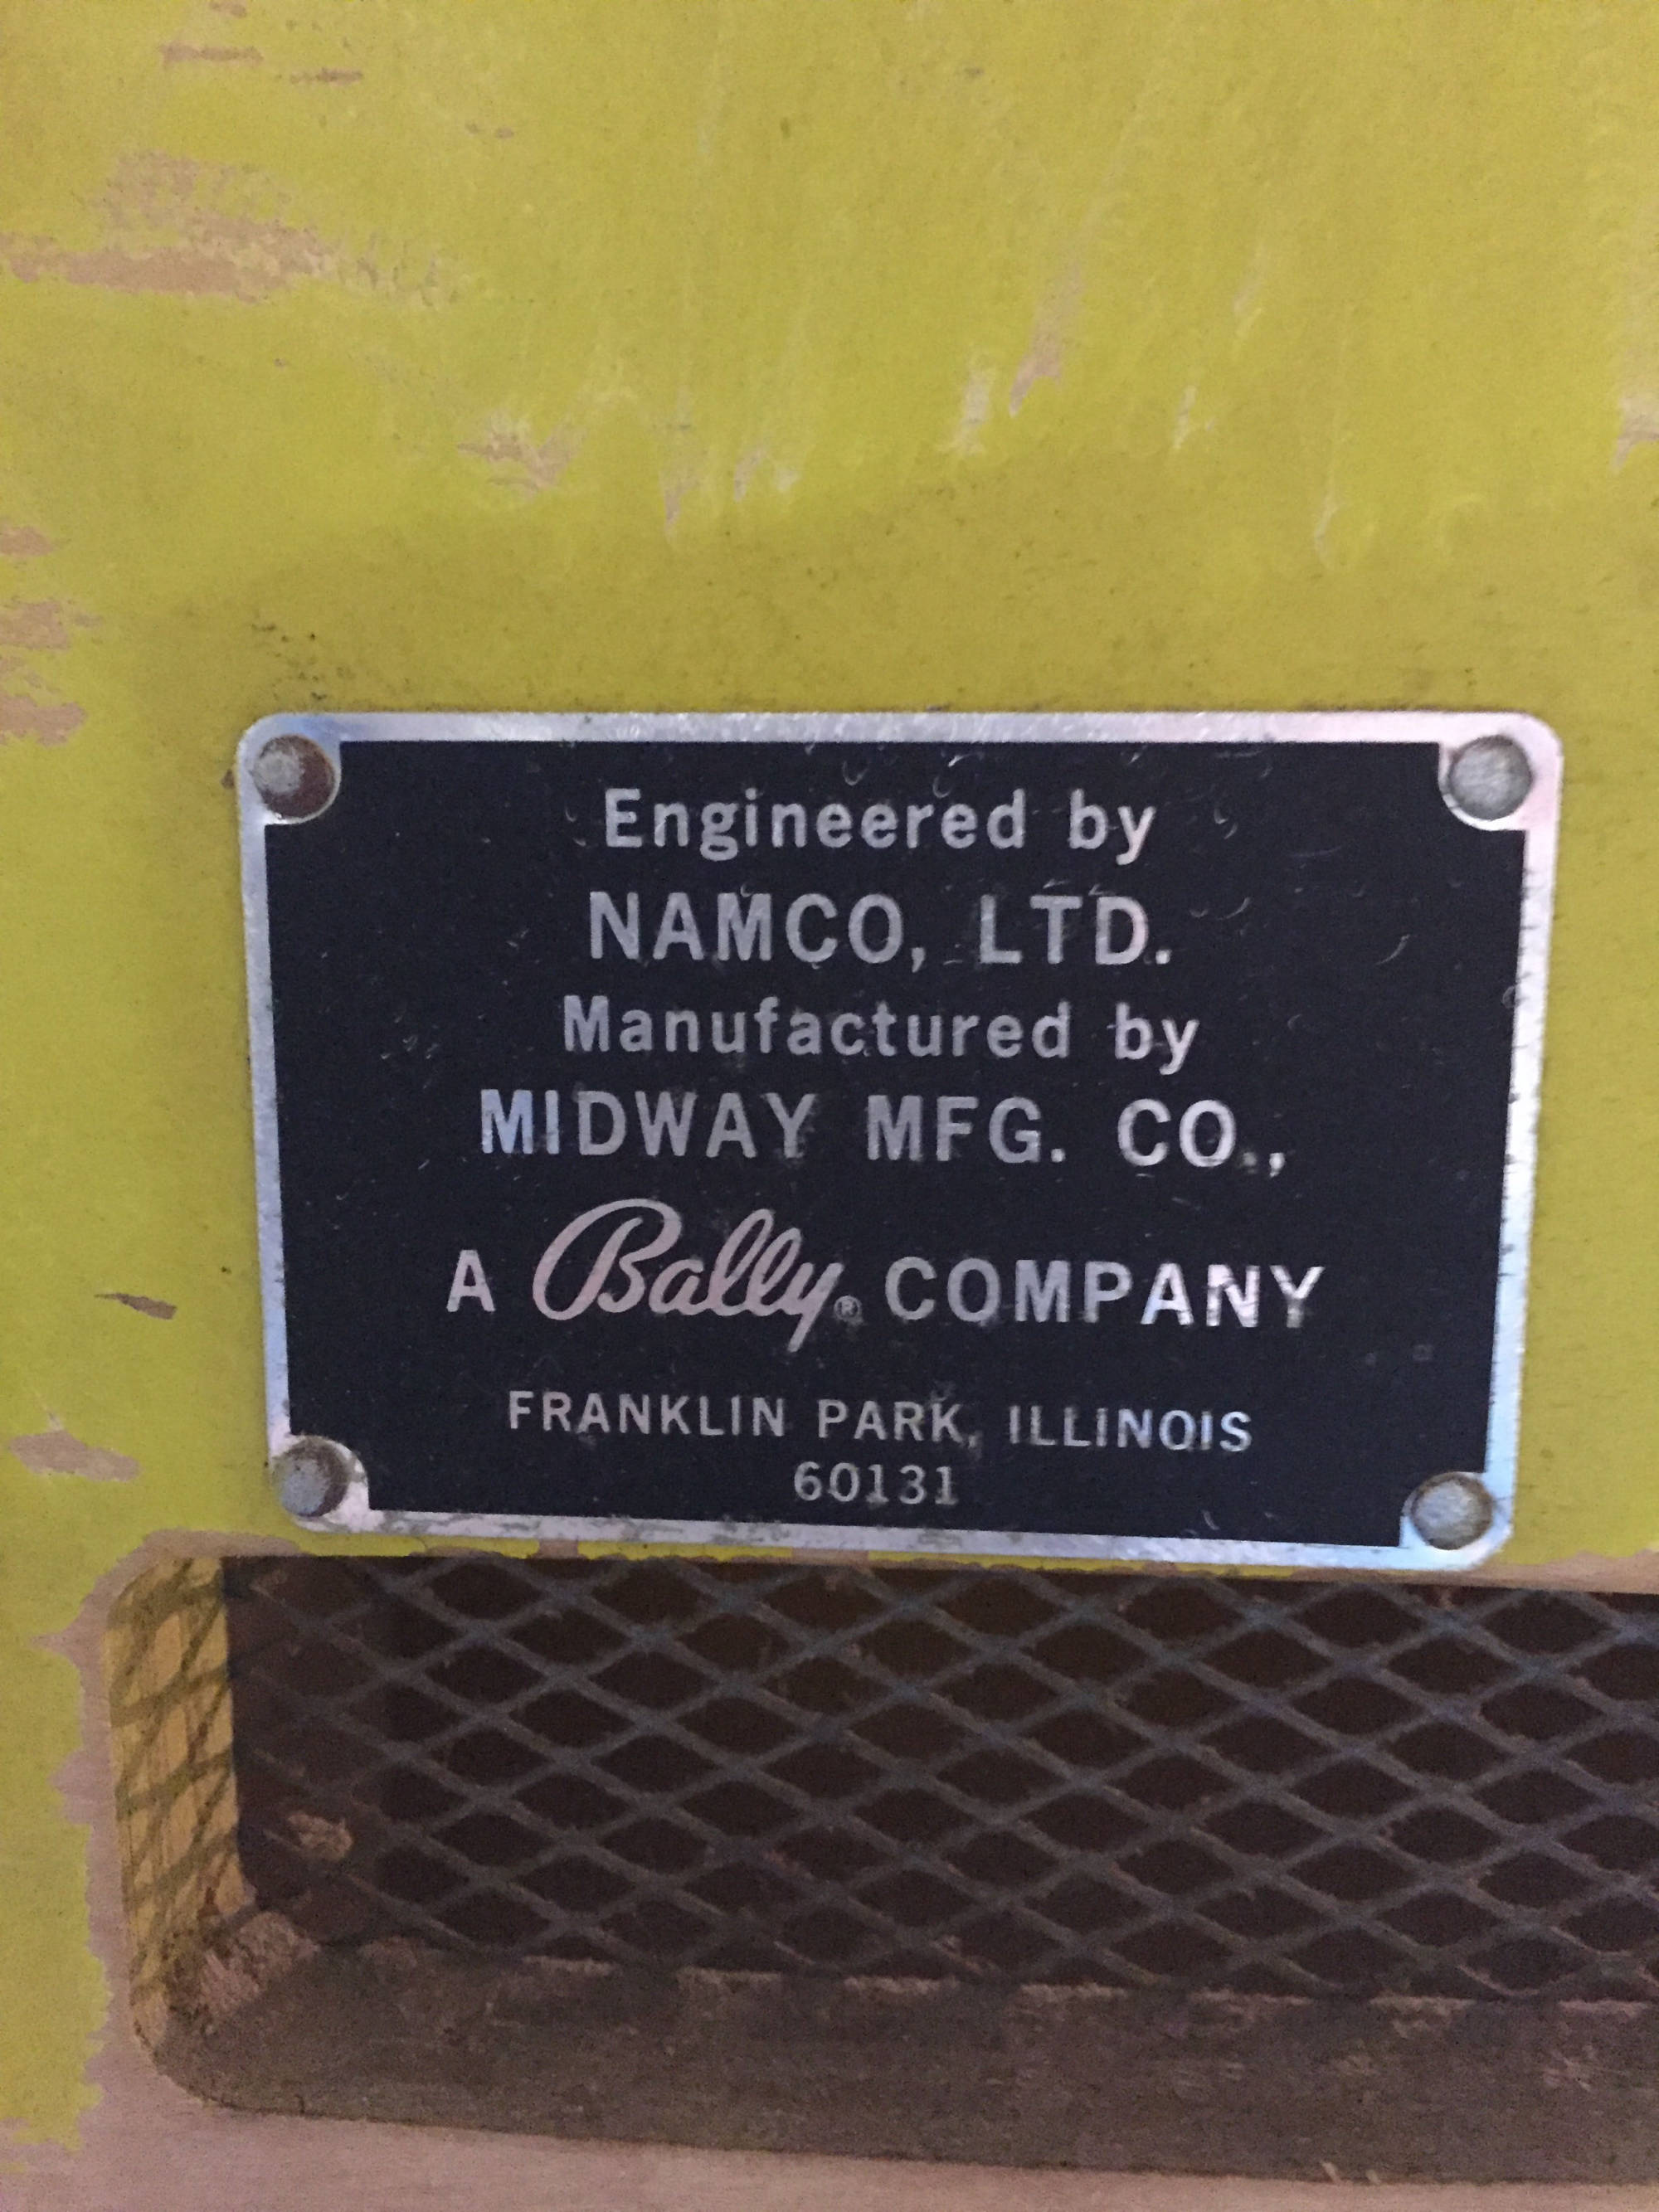
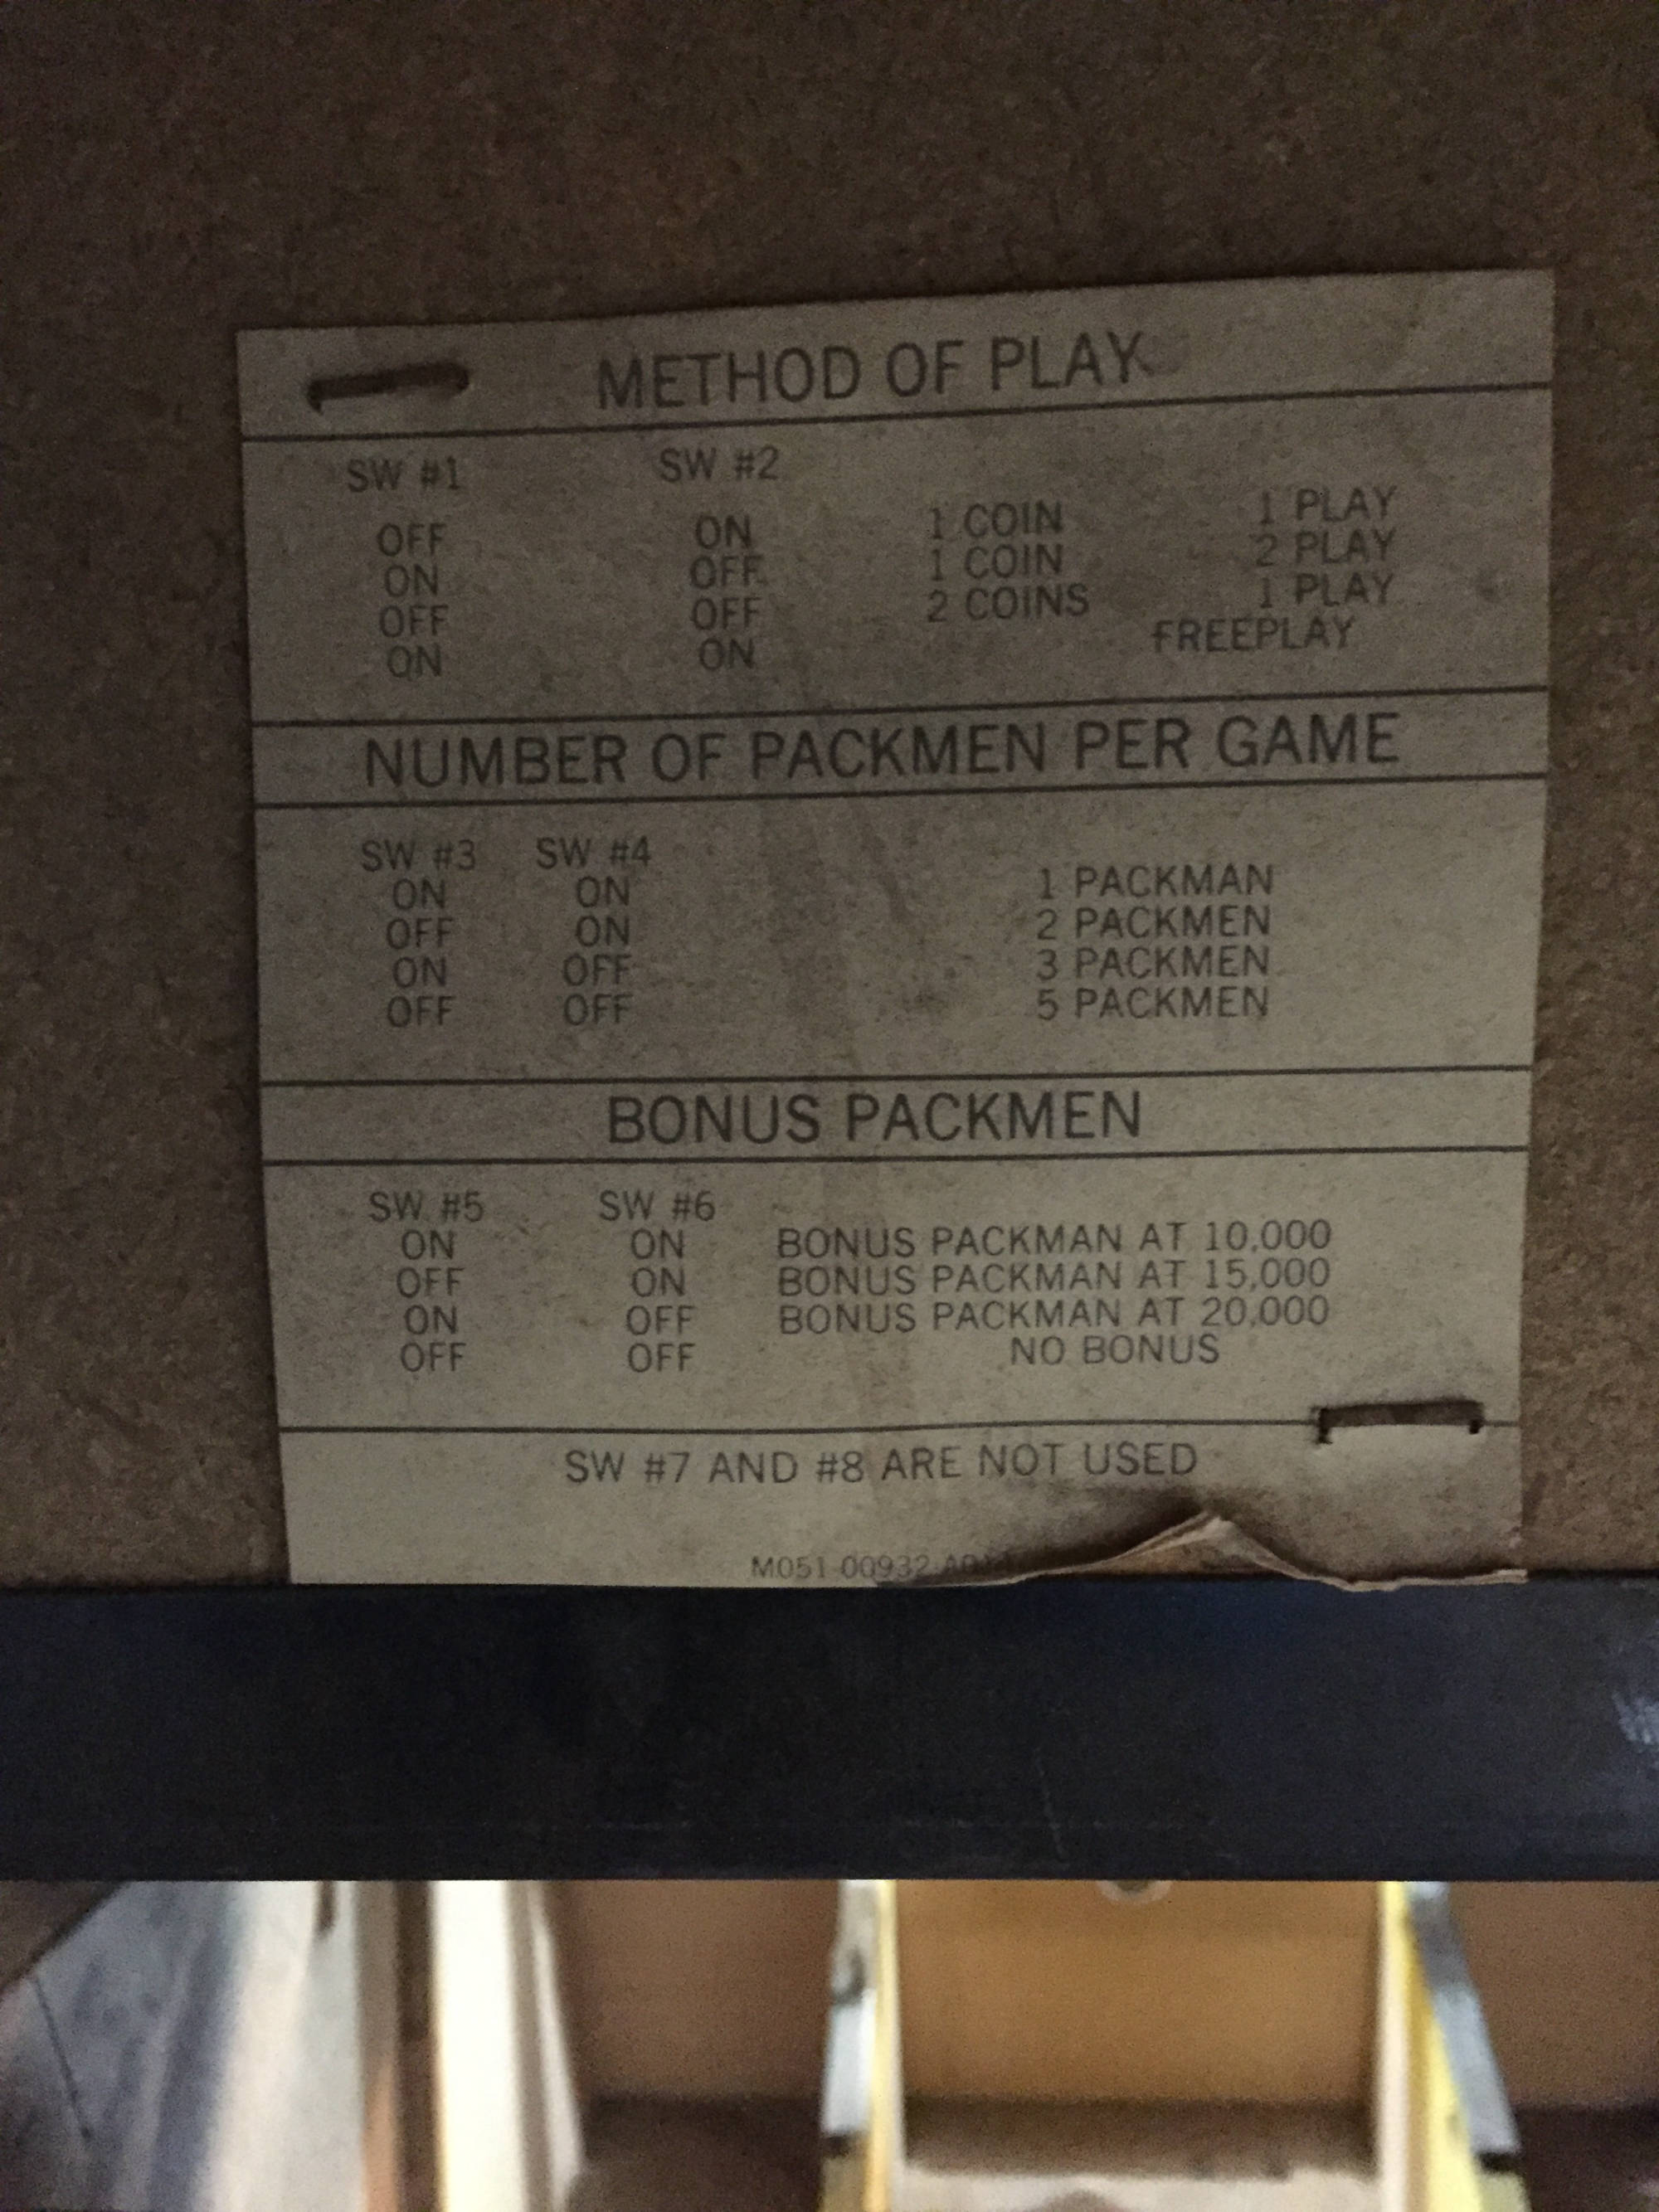
After dry fitting all parts, I did find one issue. The control pannel was still loose. I decided to put weather stripping across the top where it meets the glass. This also provides a small barrier if something was to leak or get wet in that area. But all said and done, it is completed. Now, at a later date I will go through all the diffrent software to make it run, and all the fun that was (NOT). Below will be some videos and some other things I found to post like stickers inside or labels. Also for those wondering, YES I did purchase the games shown so YES I am legal. Steam is great, as well as Itunes, old NES, SNES, and even the newer hand held versons of the all in one consoles you and buy. Its great for this stuff.  Do not download games you do not own.

Built with Mobirise ‌

Free Web Page Creator